

Painting the van with bed liner
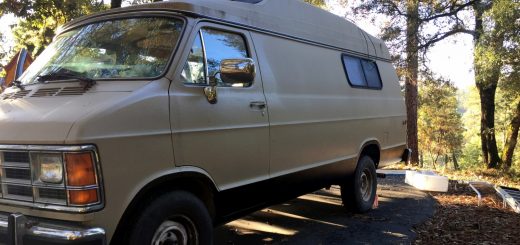
I have talked about it for years, but the cosmetics of my vehicles have always taken a back seat to the mechanics. Big Blue has always been mechanically fit, and the minor inconvenience of the paint falling off has been just that; minor. Up until Kerri that is. It was easy to convince her to take a trip into Mexico with me in the van, with it’s flaky paint. I called it “Mexican camouflage”. With that paint, the van fit right in down there. We did not get hassled by the locals or the police, but in America she just could not handle it.
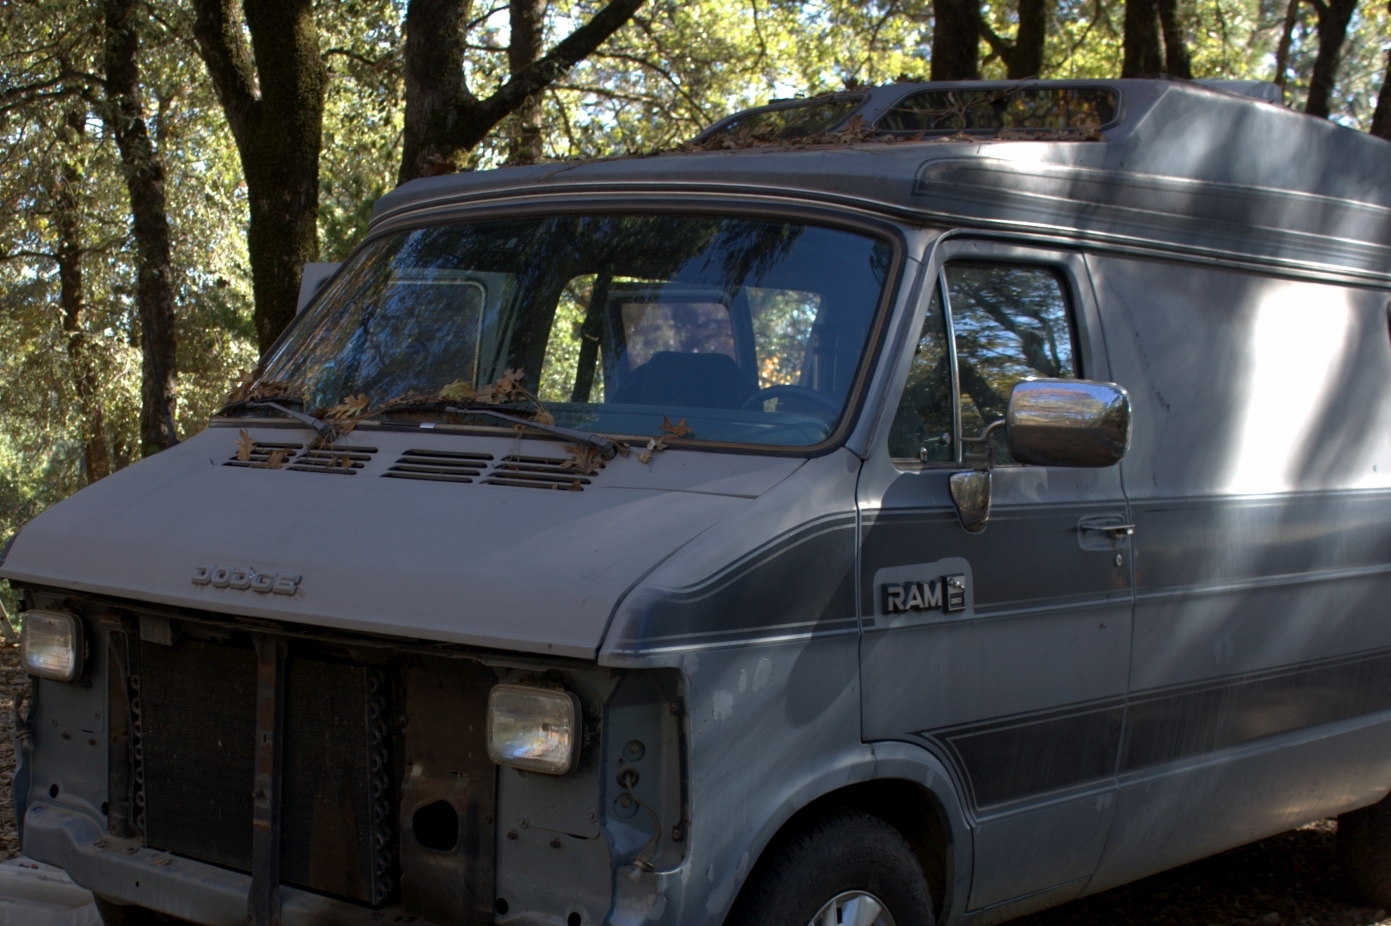
 As we were returning to America after the trip down south, we even discussed selling the Airstream an staying in the van – with Kerri wanting it more than me. Eventually we settled on staying in the Airstream through 2017 and playing it by ear once we got closer to 2018. Still, priority #1, for Kerri, was the cosmetic appearance of Big Blue. See, the issue with the paint coming off Big Blue was that the adhesiveness of the paint had failed… hence it was flaking off. We could not paint over top of that failed paint, as the new paint would flake off with the old. The solution was to sand all the failed paint off, which is extremely time consuming and back breaking work.
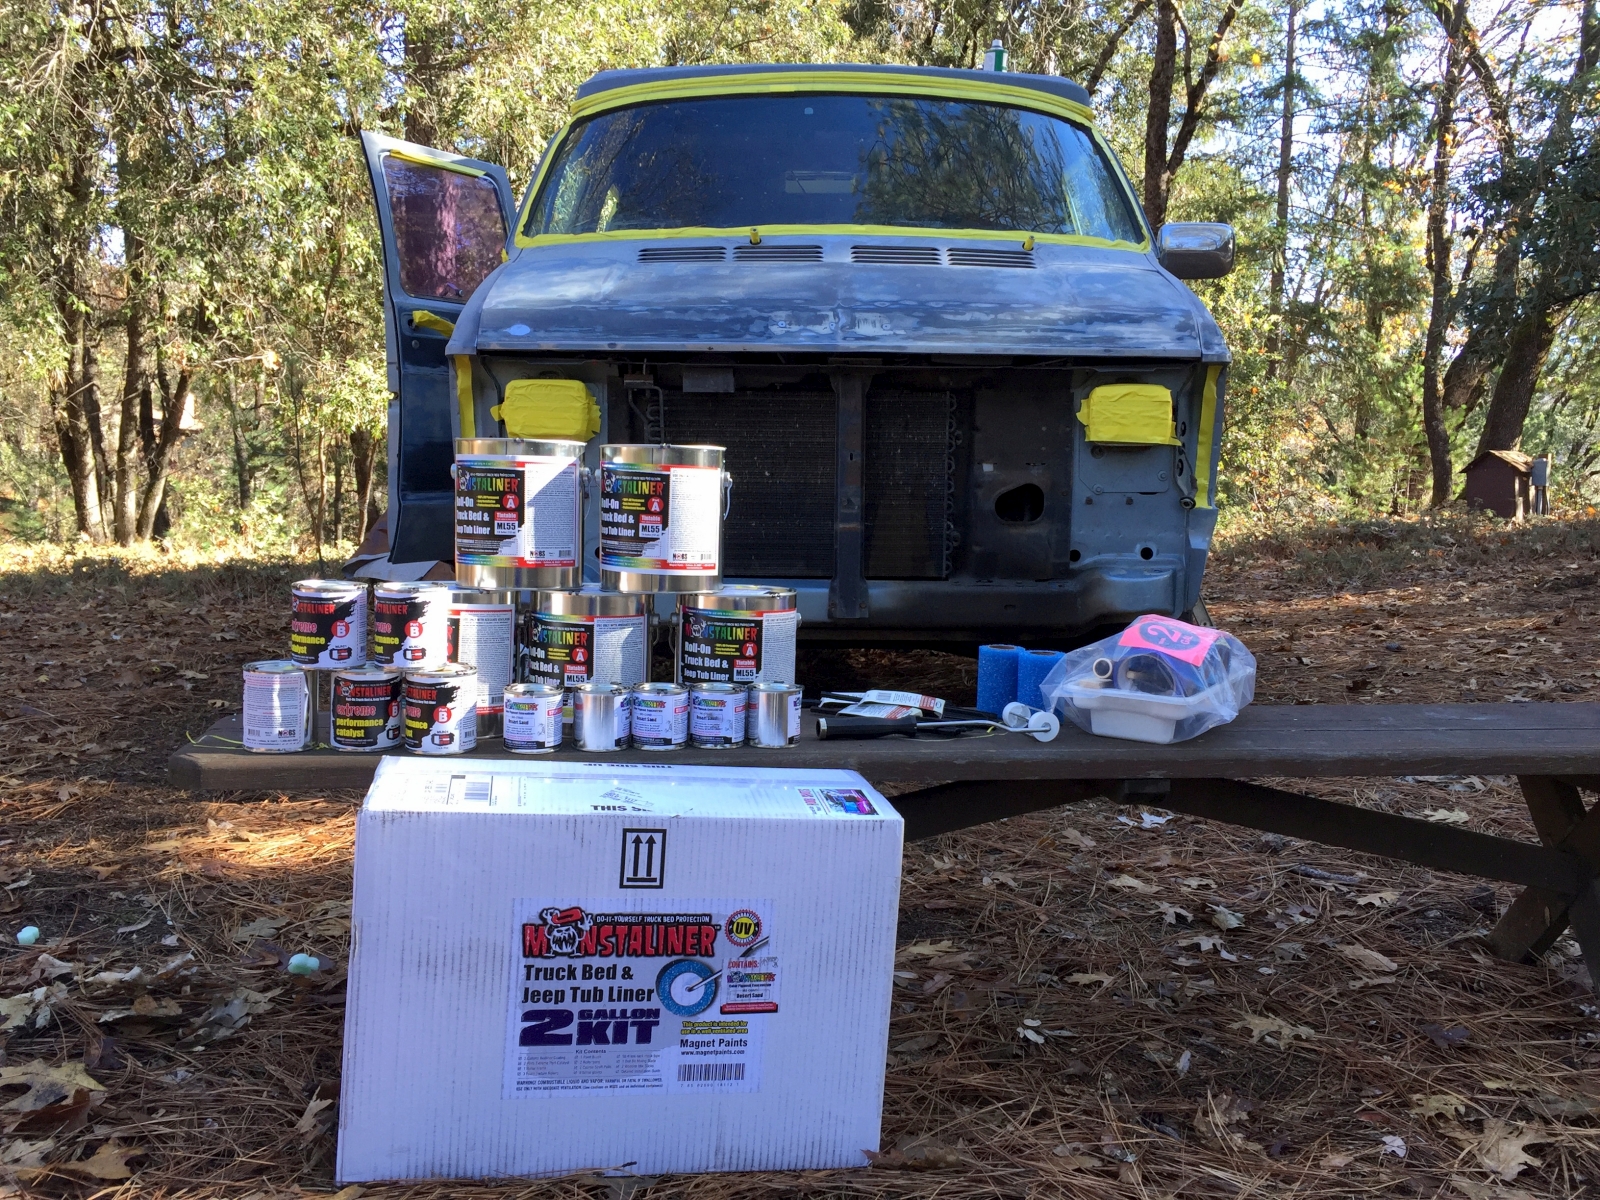
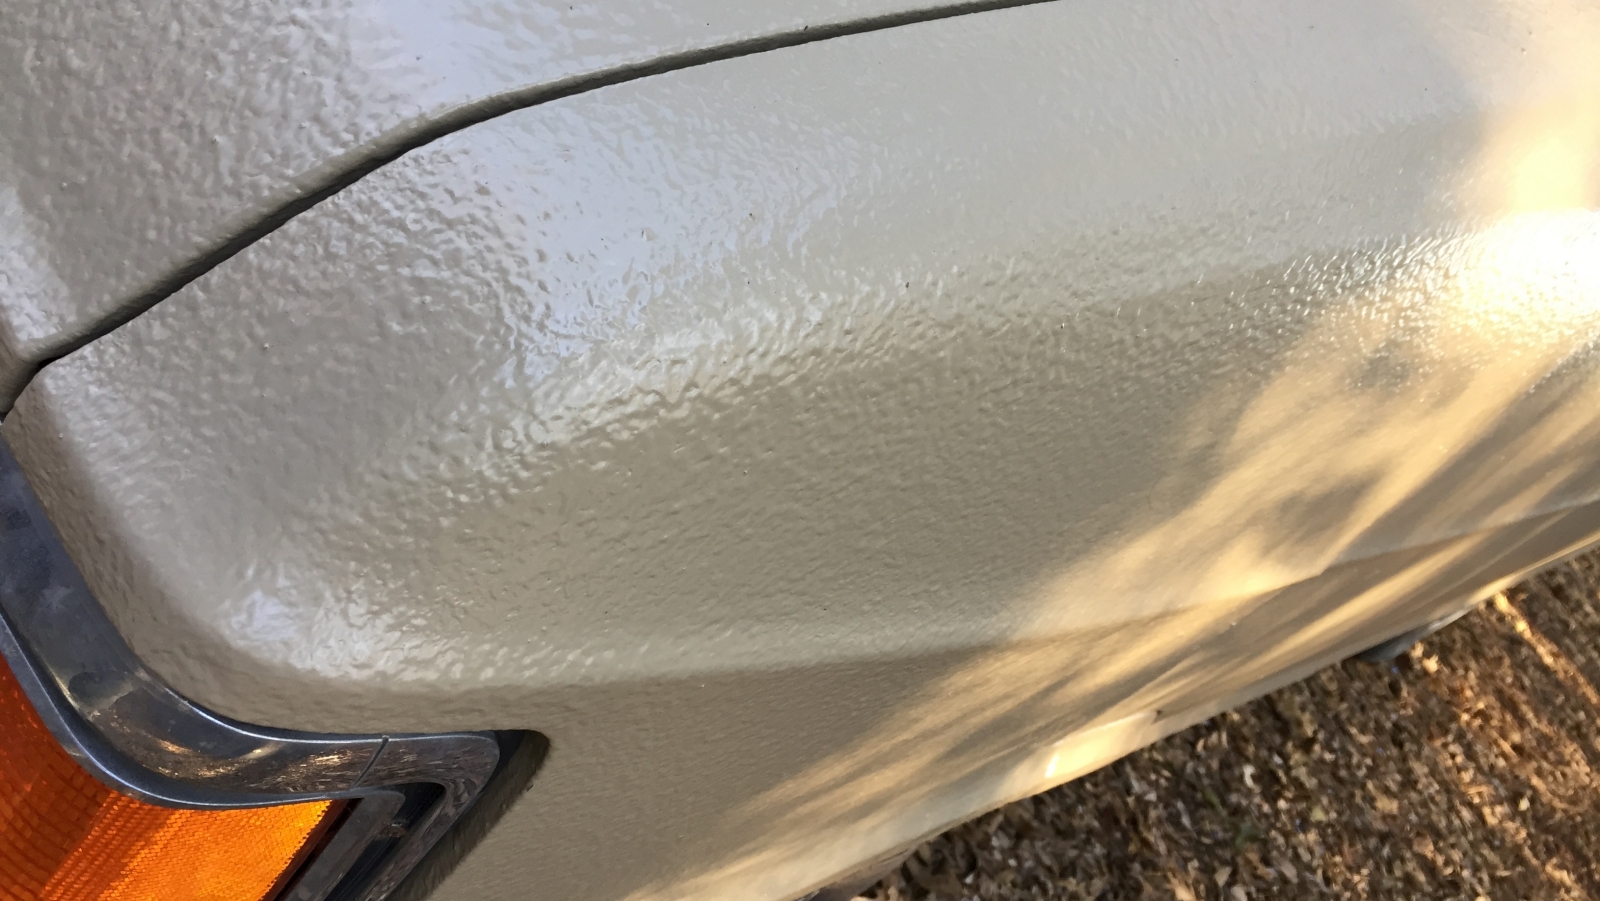
So, a plan was hatched based on input from Glen (ToSimplify.net) back in 2015; Monstaliner truck bed liner as paint. It is a paint job that I can do myself and was reasonably priced. It is extremely tough and rugged looking and stands up to the elements. There is no worry about scratches and even adds a nominal amount of insulation and sound dampening.
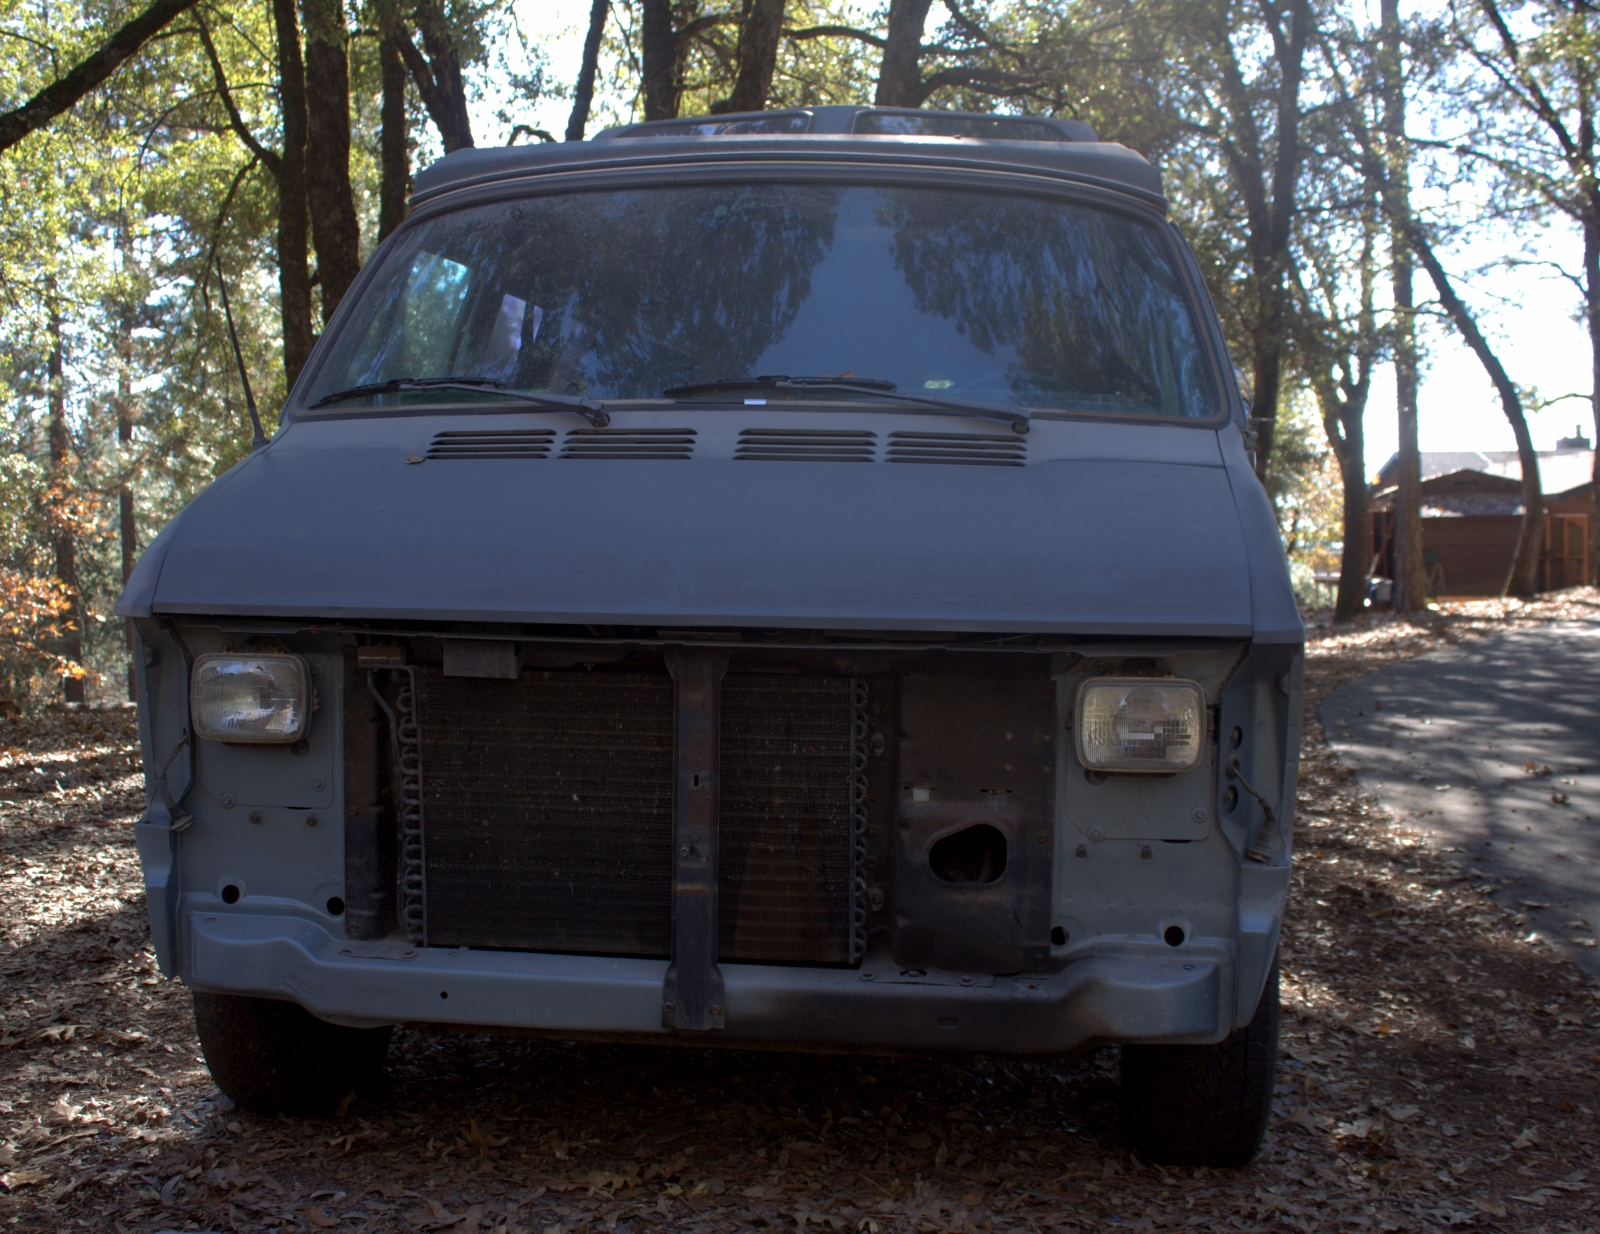
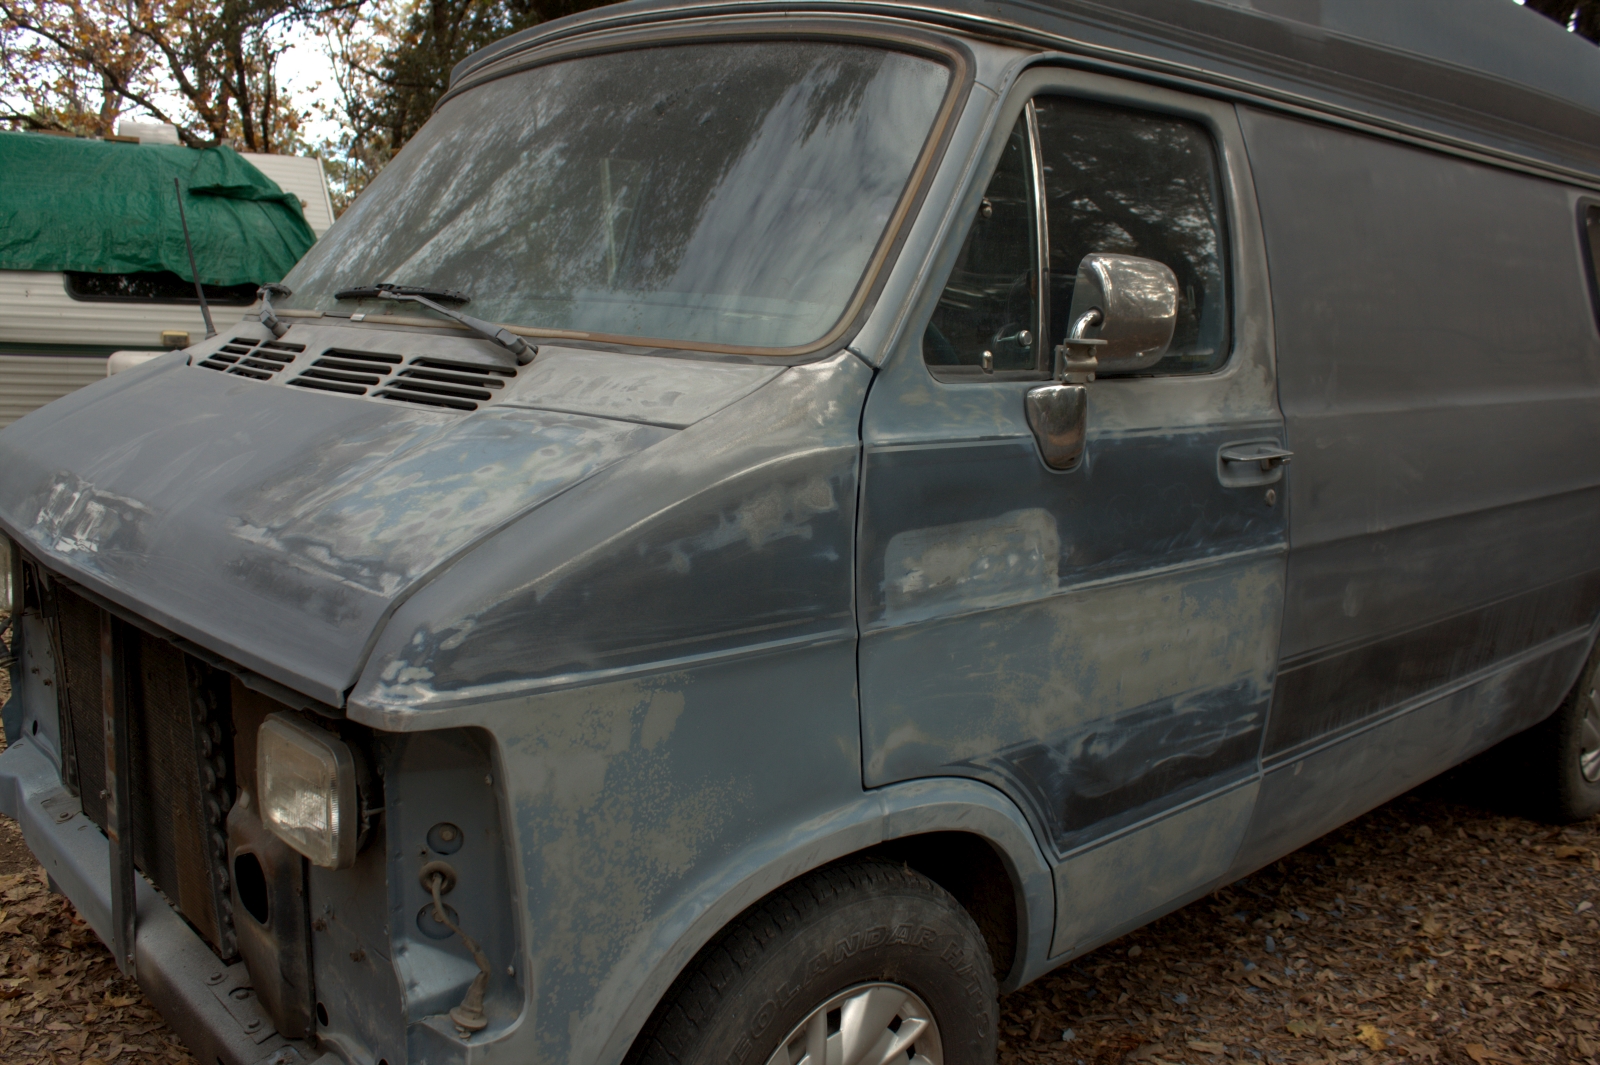
But first, all the bumpers, solar panels, spare tire, ladder, awning, grill and lights… all had to be removed before the sanding could start. Then all the misc screw holes and dents needed to be filled in with filler. It took three days just to get to a point of starting the sanding, then another 4 days of sanding. Then another four days of sanding – breaking two sanders in the process, but the job got done.
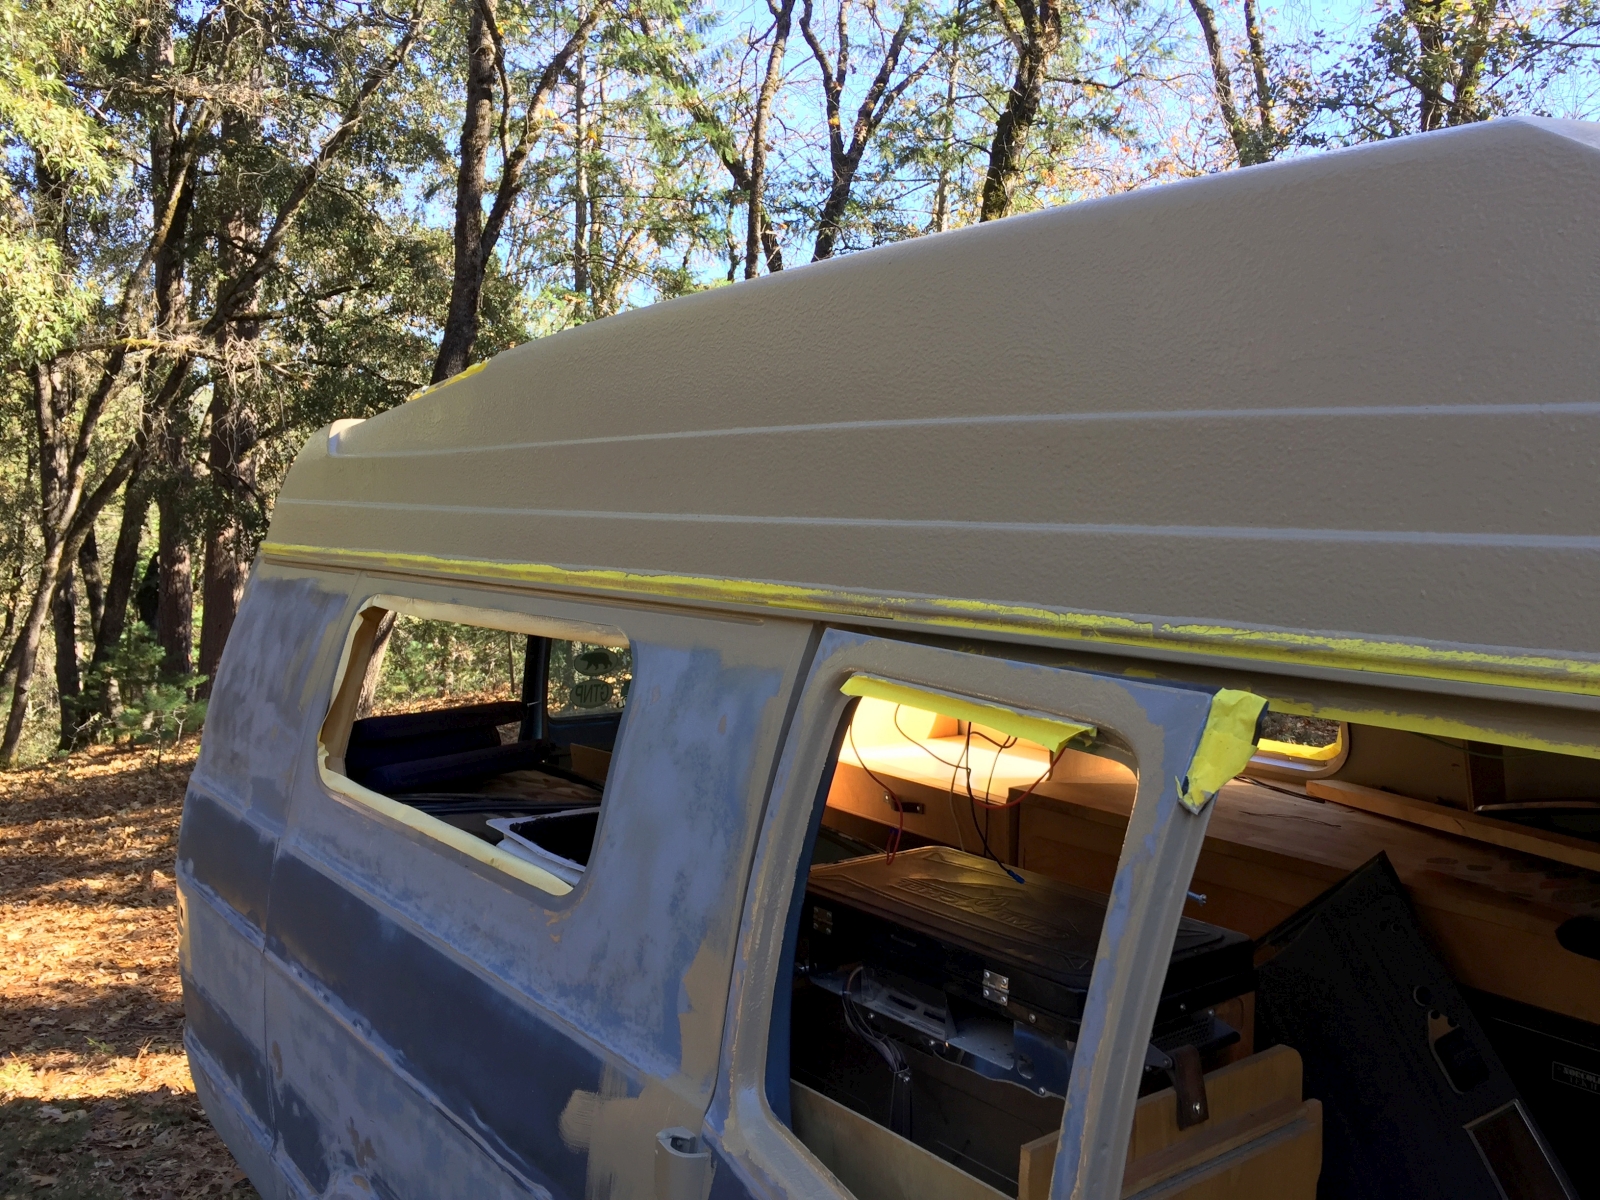
As luck would have it, it only rains in California when I am in the state, and rain was coming and would stick around for a while after. So, I had a two-day window to get the painting done and with a 4 inch roller and brush as my only tools, it took most of the hours available in those two days. Day-1 was all about the 2-coats on the topper and the brush-work into the door jams, corners, creases, etc. I had enough paint (from the two gallons opened) to get to the doors and hood as well. Day-2 of painting finished off the job with another two gallons to apply a second coat to the doors and hood and two coats to the van exterior walls. The paint dries so quickly that by the end of the day I had re-installed the weather stripping, windows, lights, and grill as rain was scheduled for the following day.
How about some before and after shots:
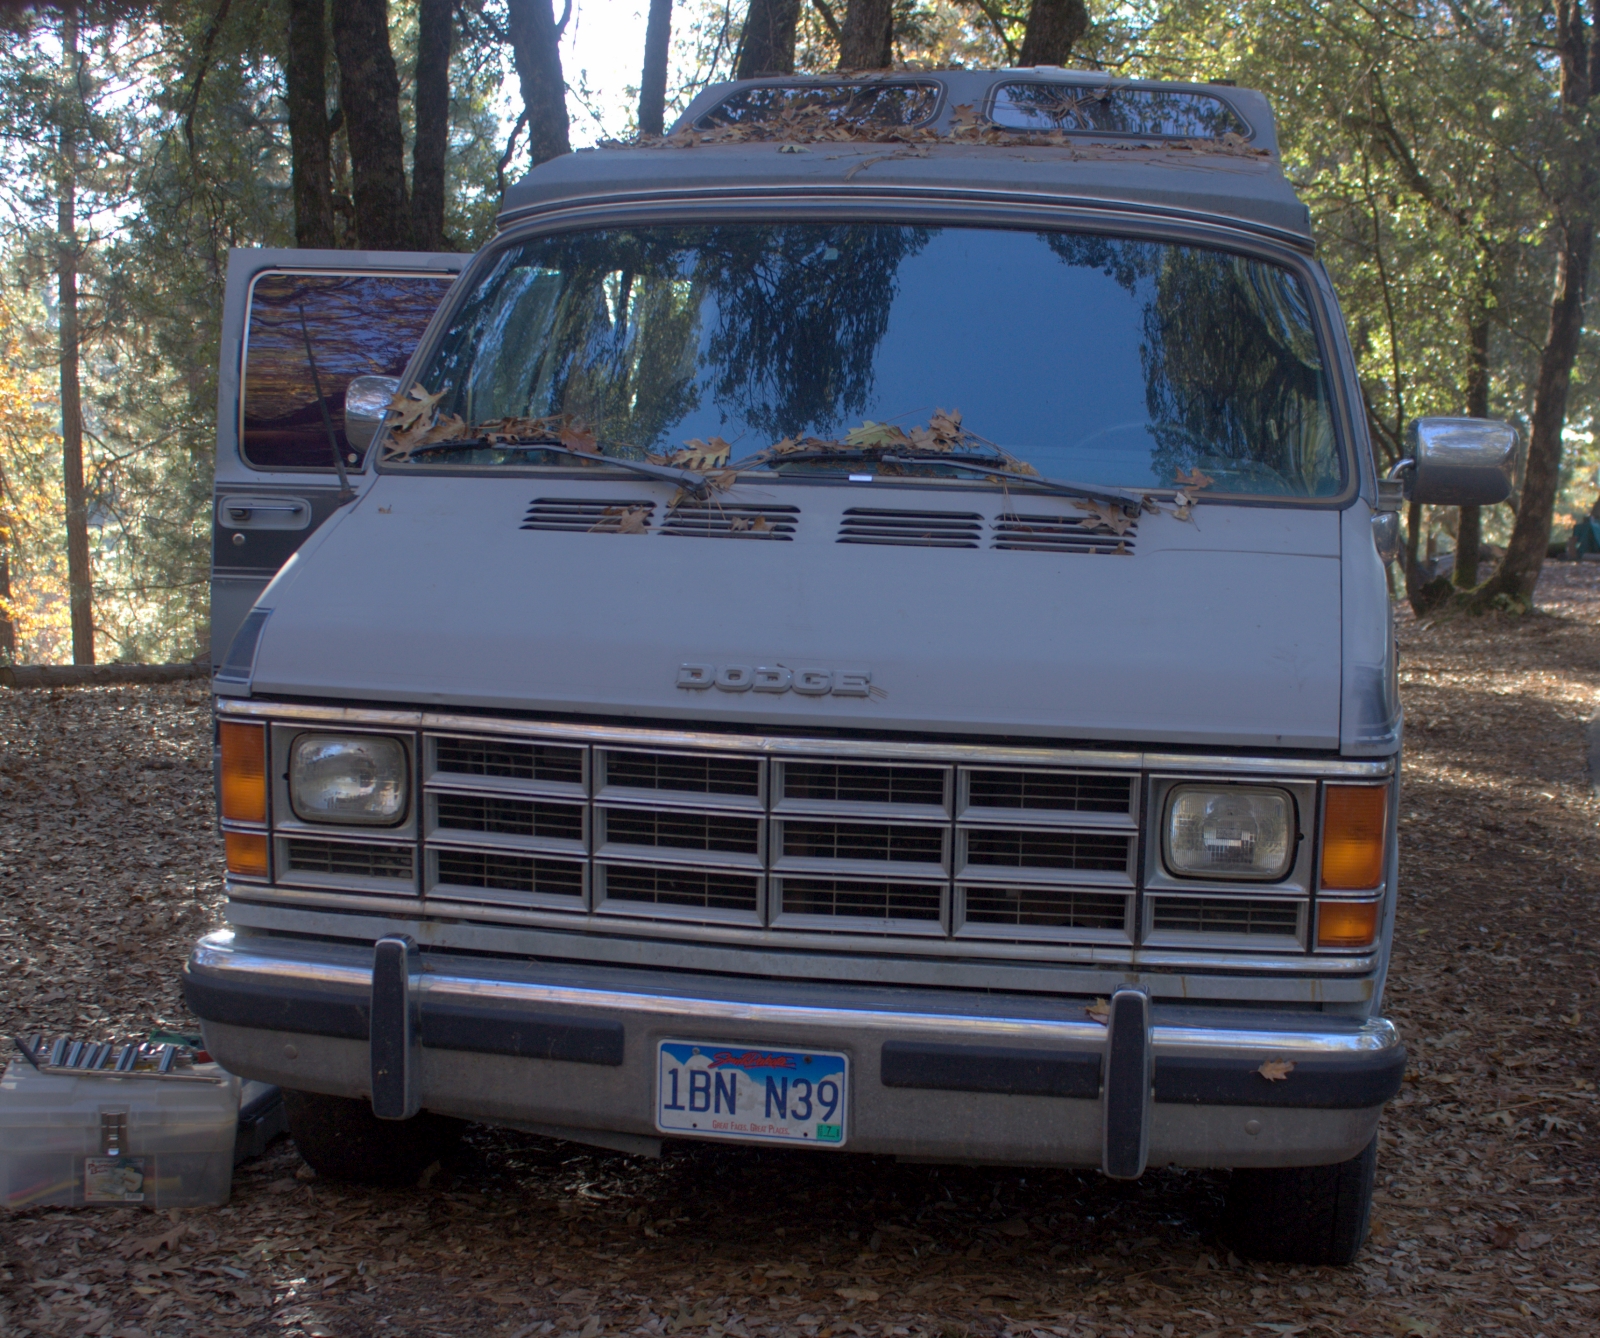
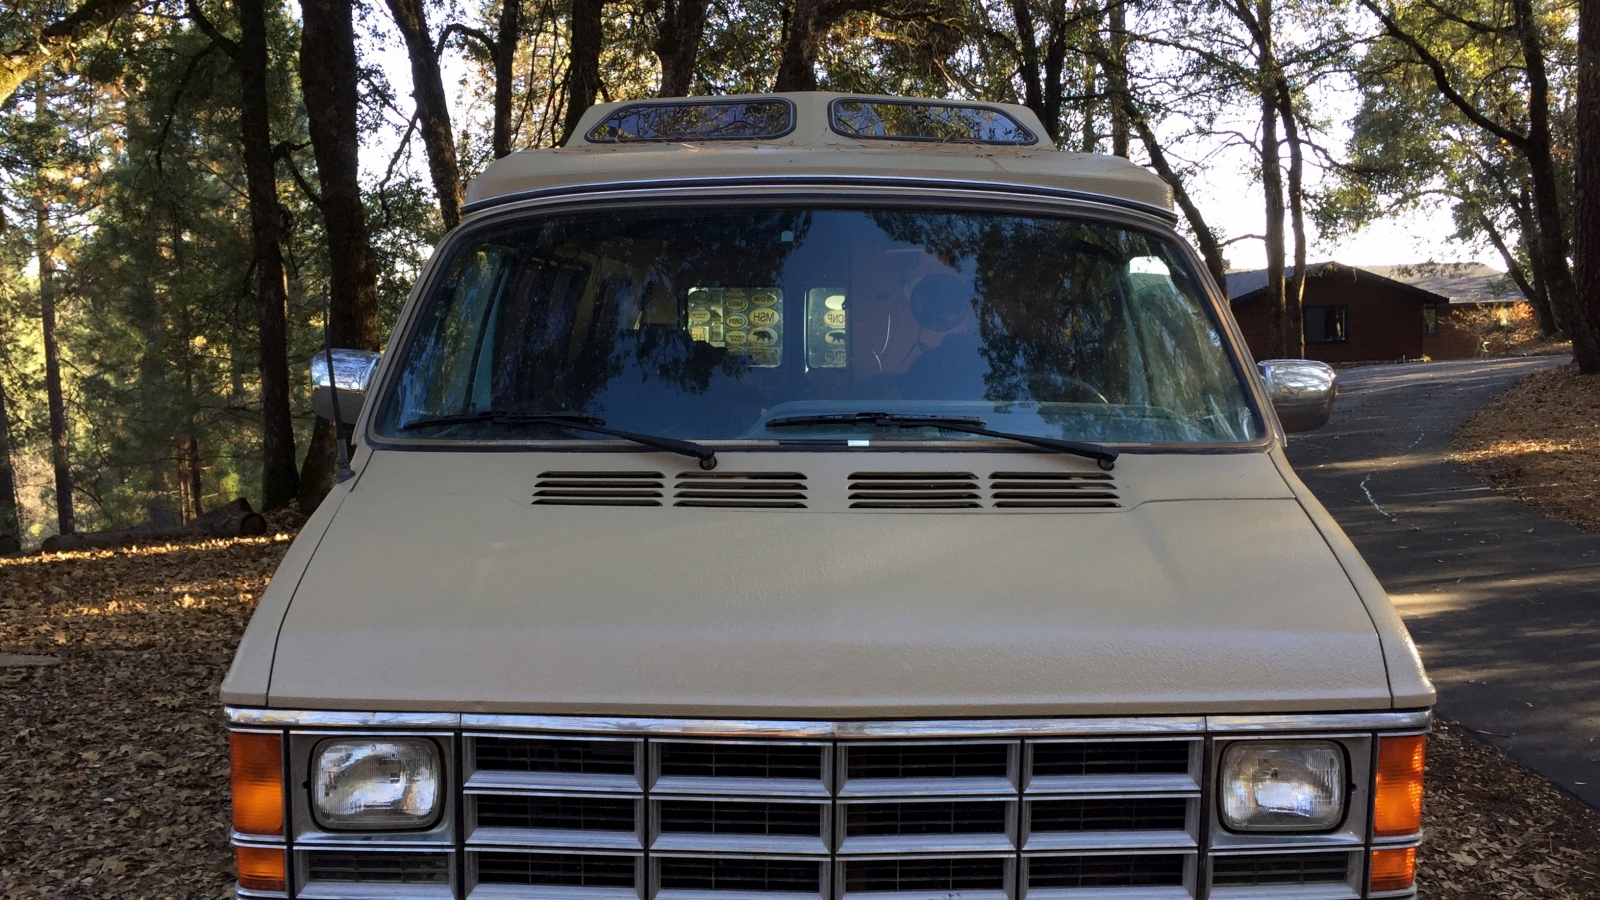
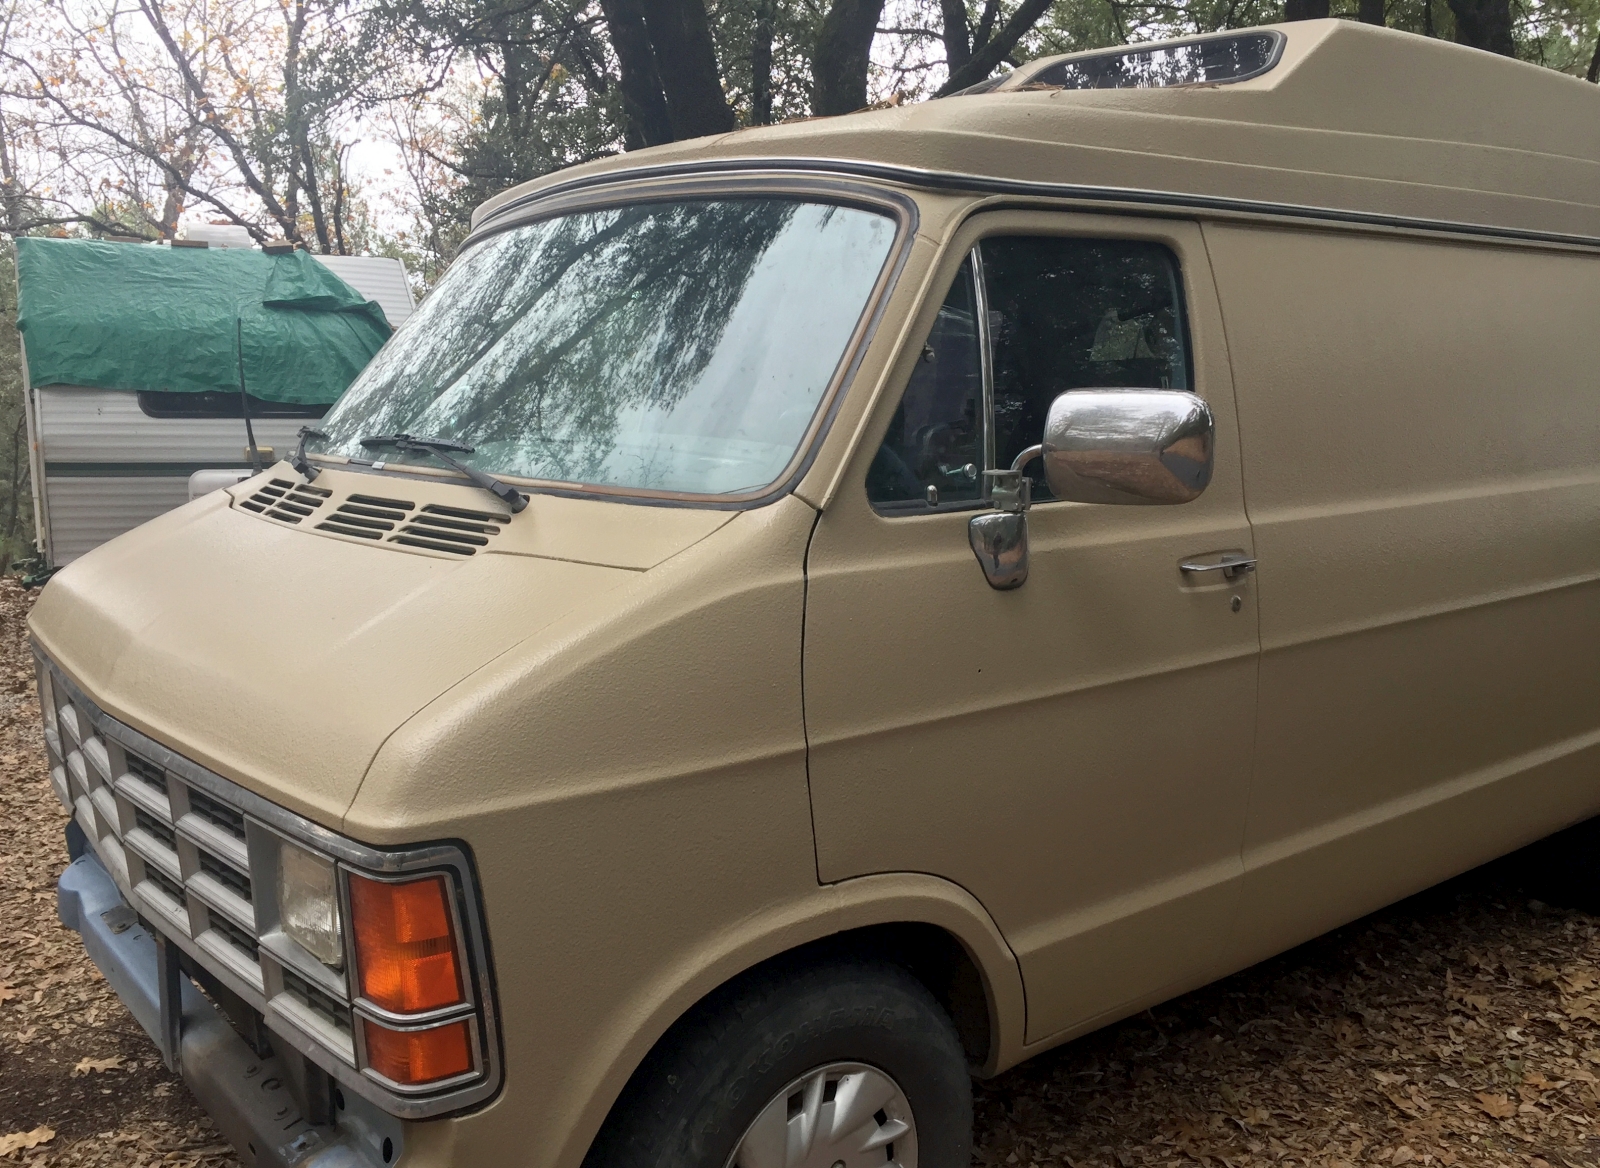
Nose
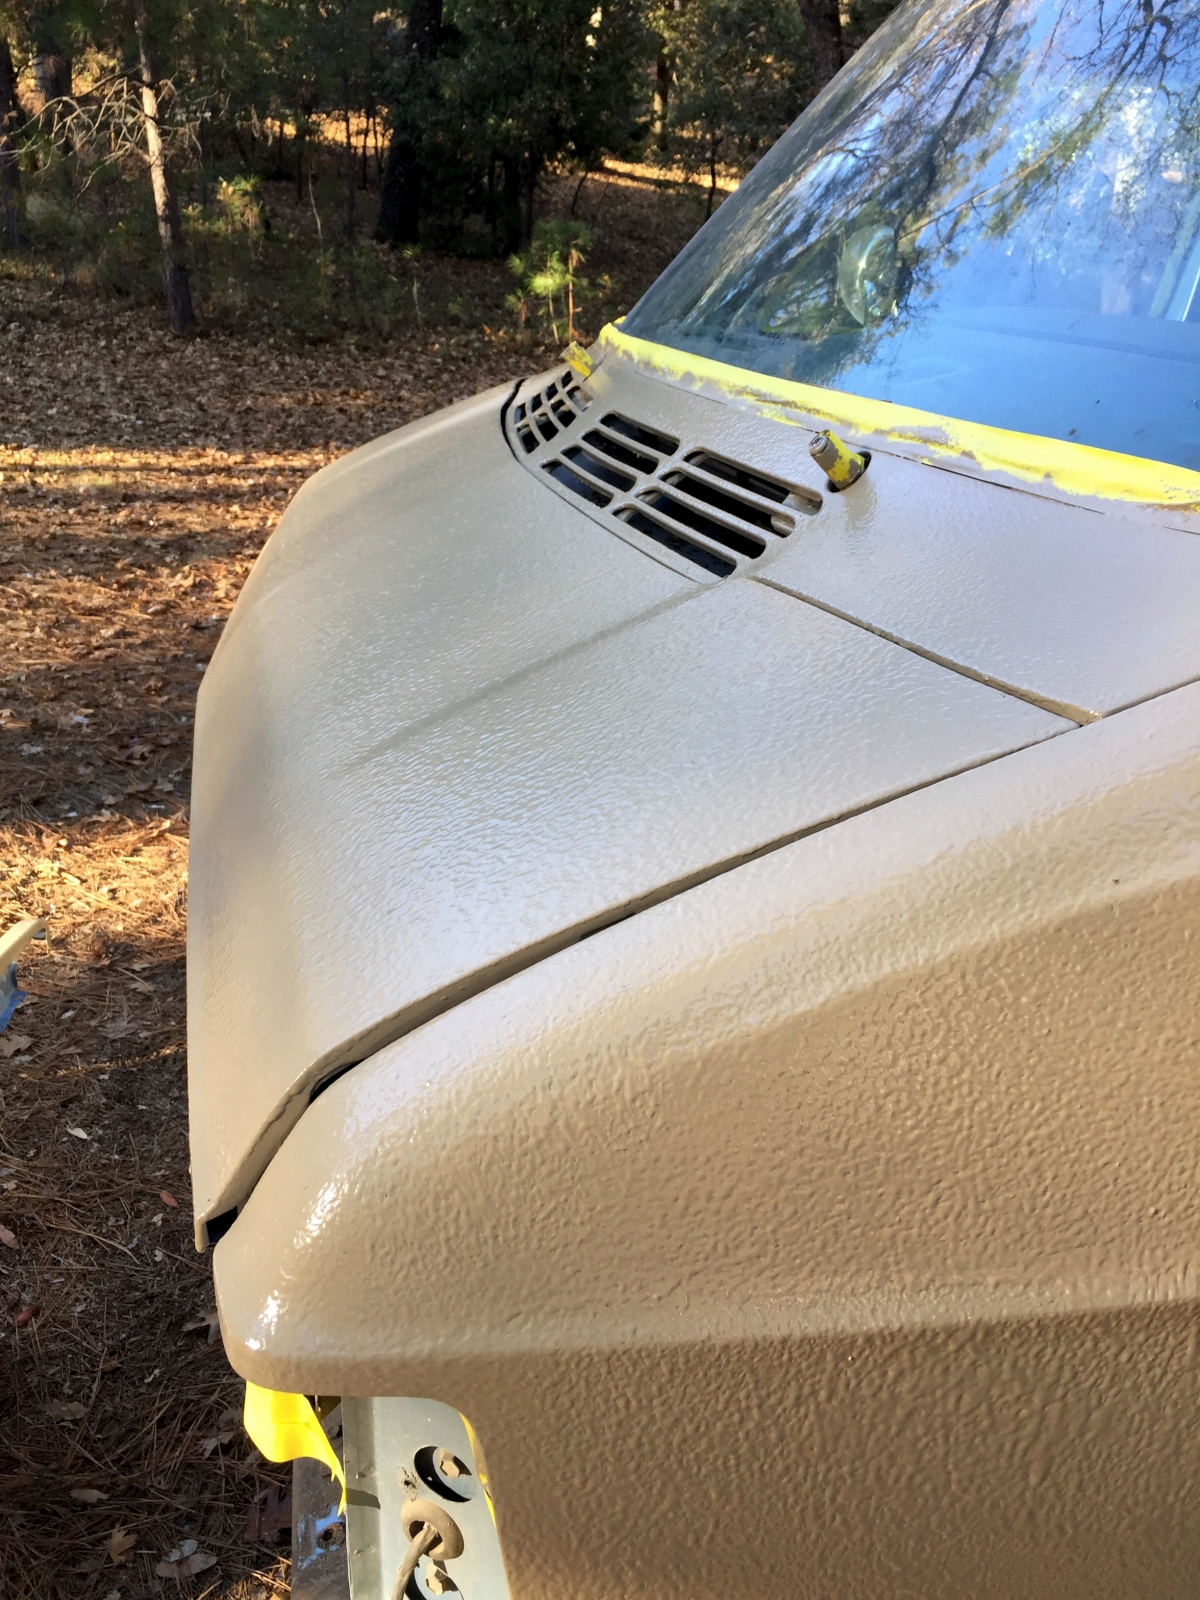
Driver’s corner and hood

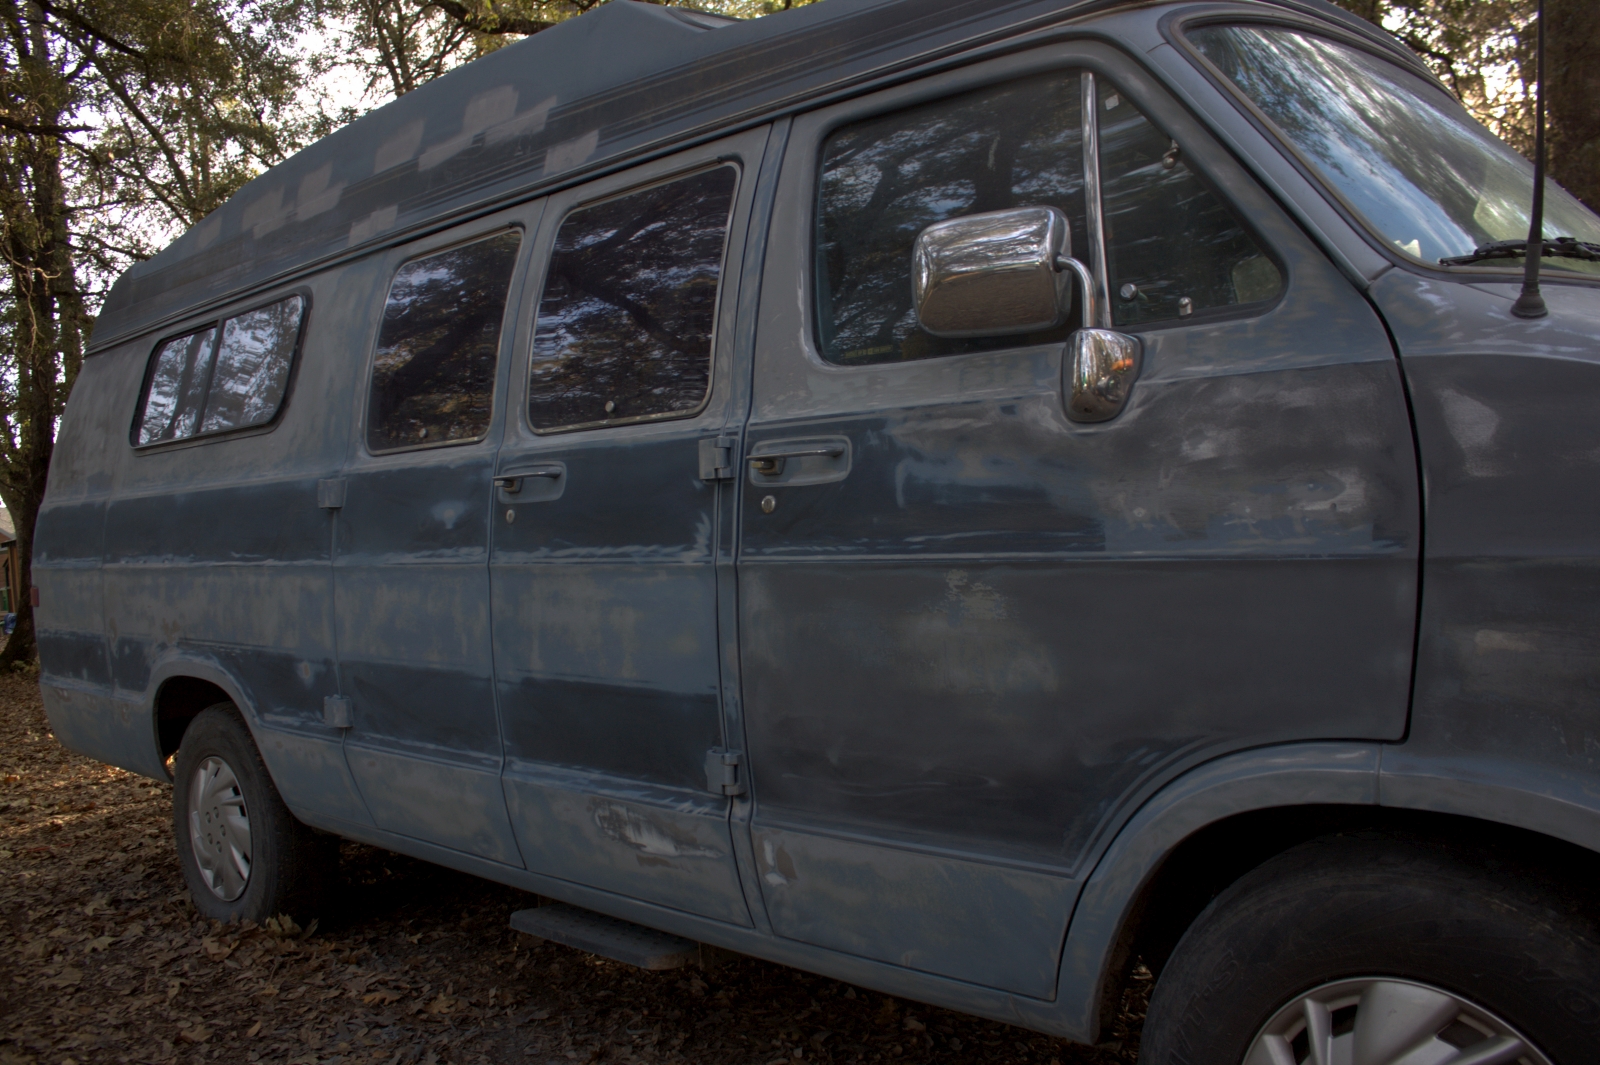
Passenger side and topper
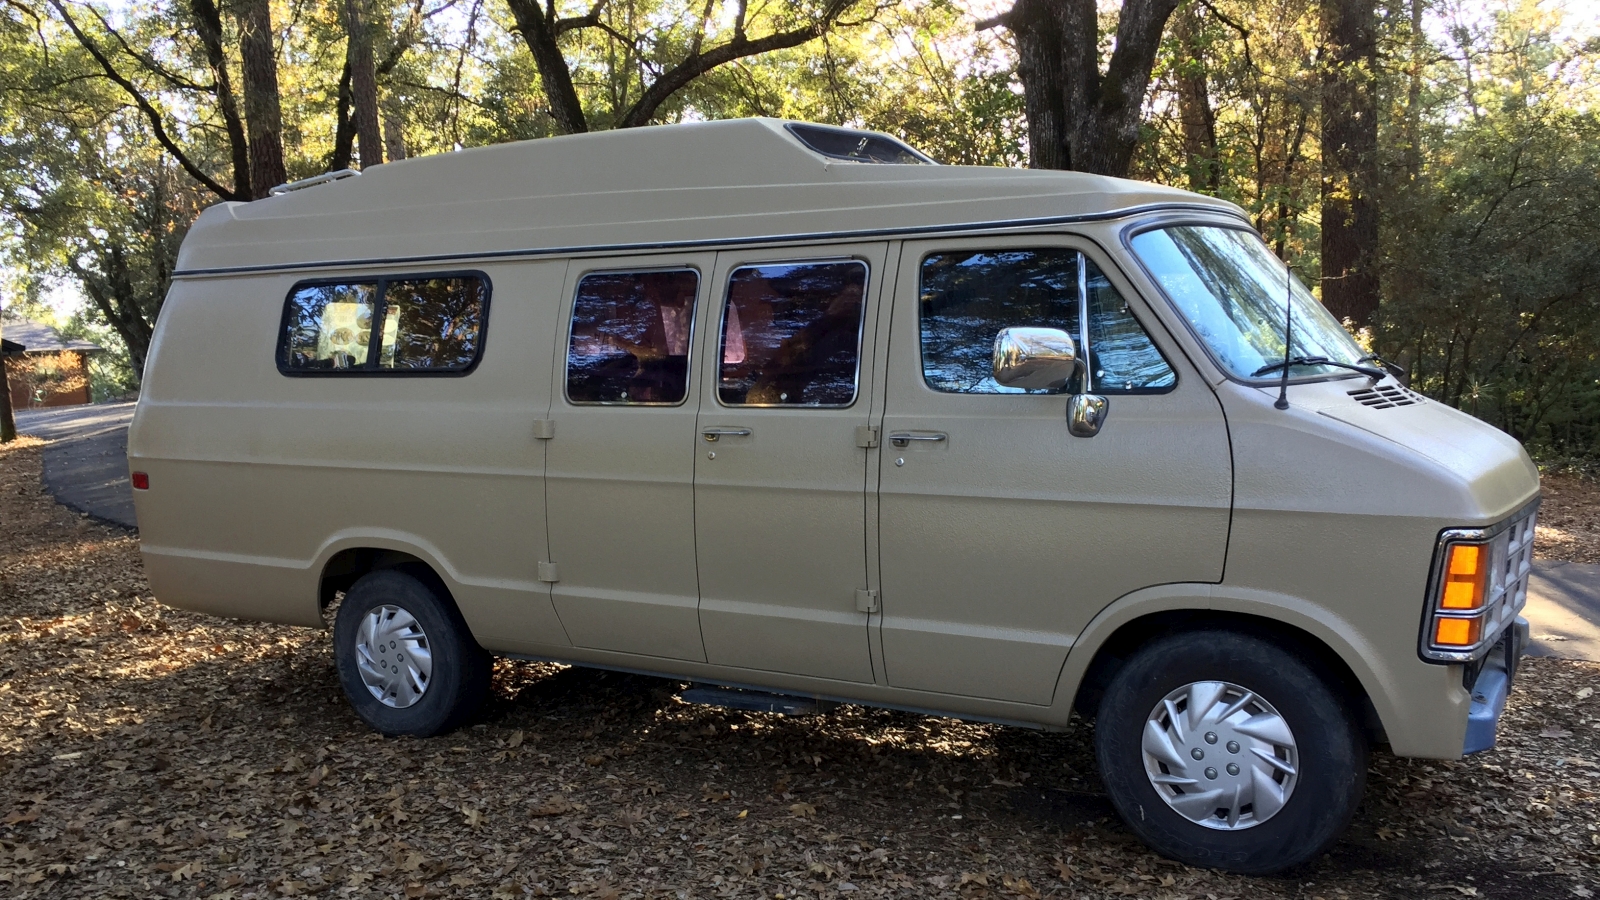
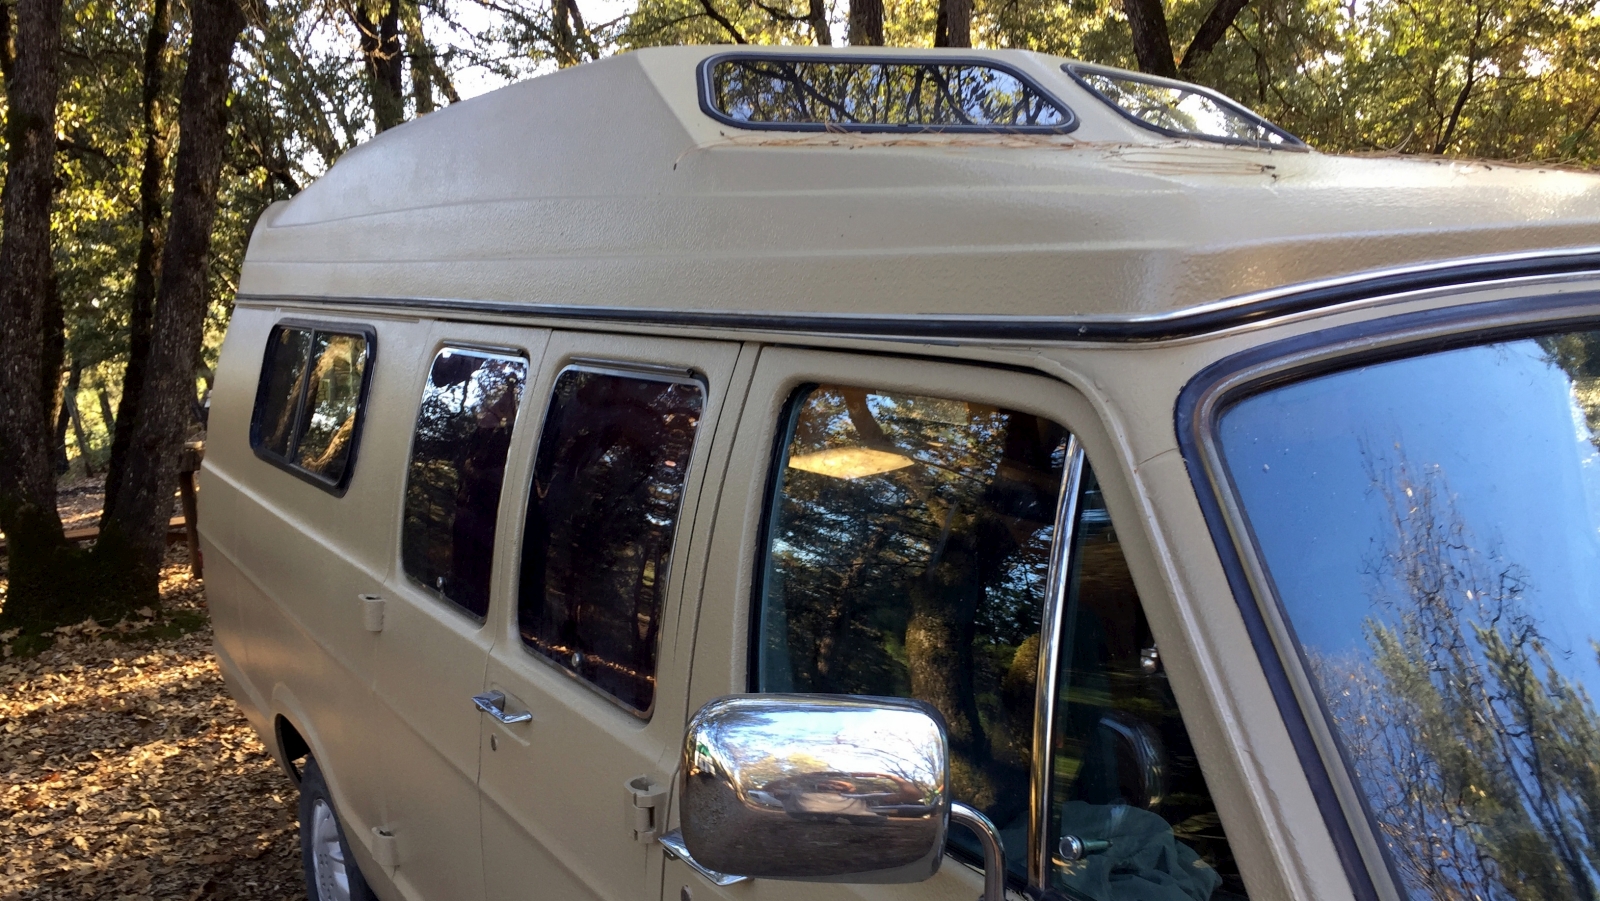
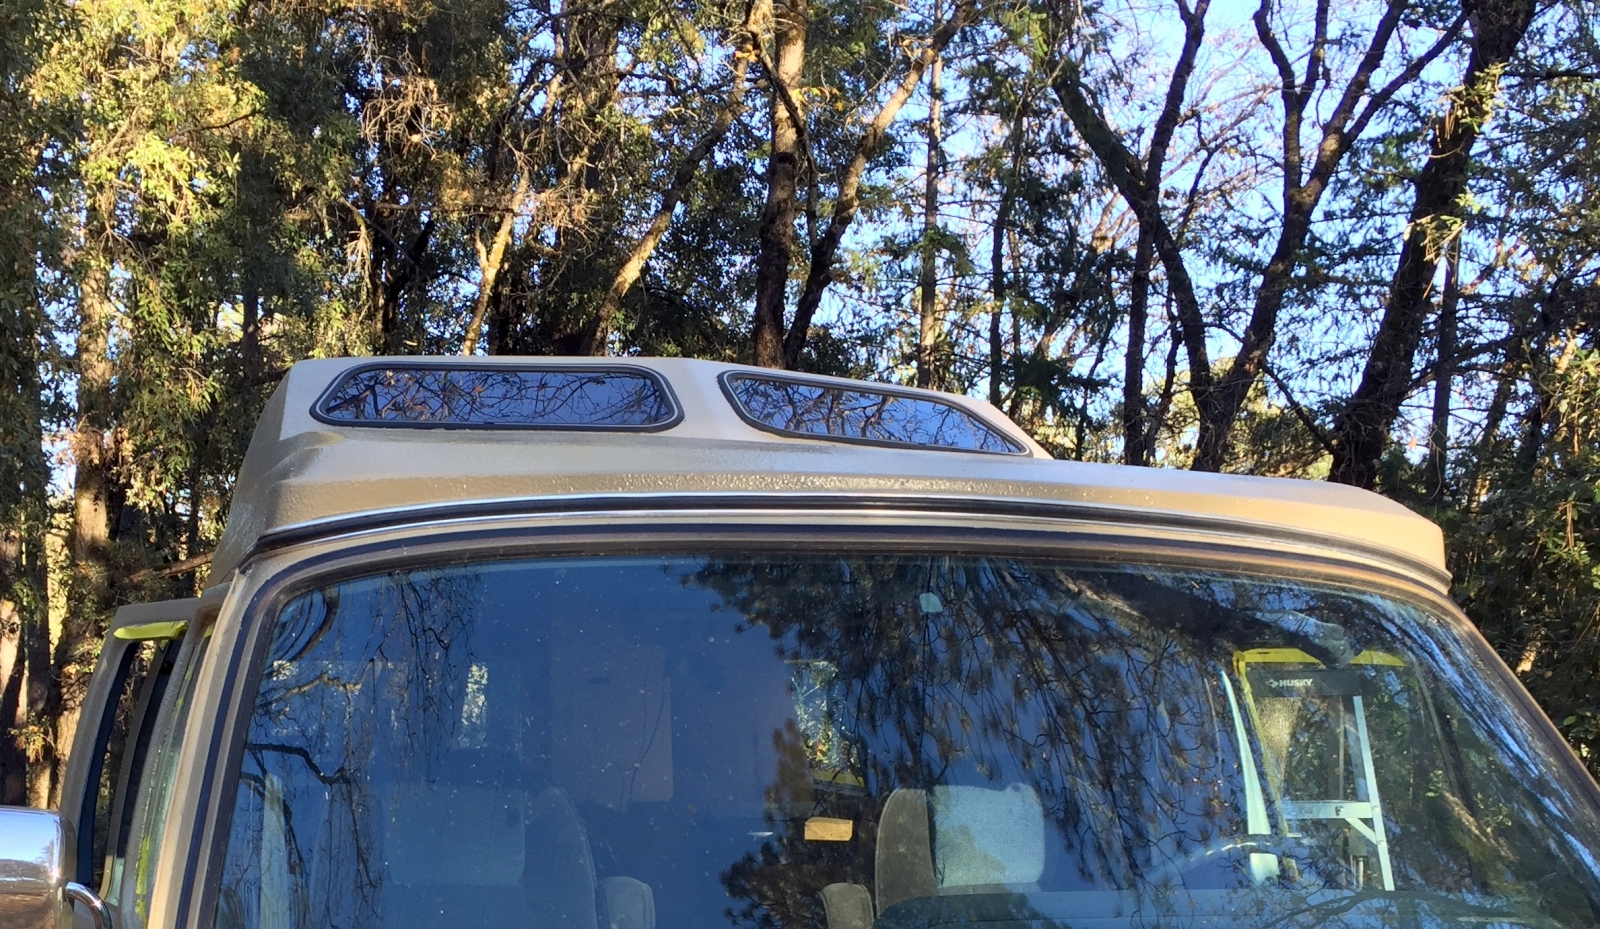
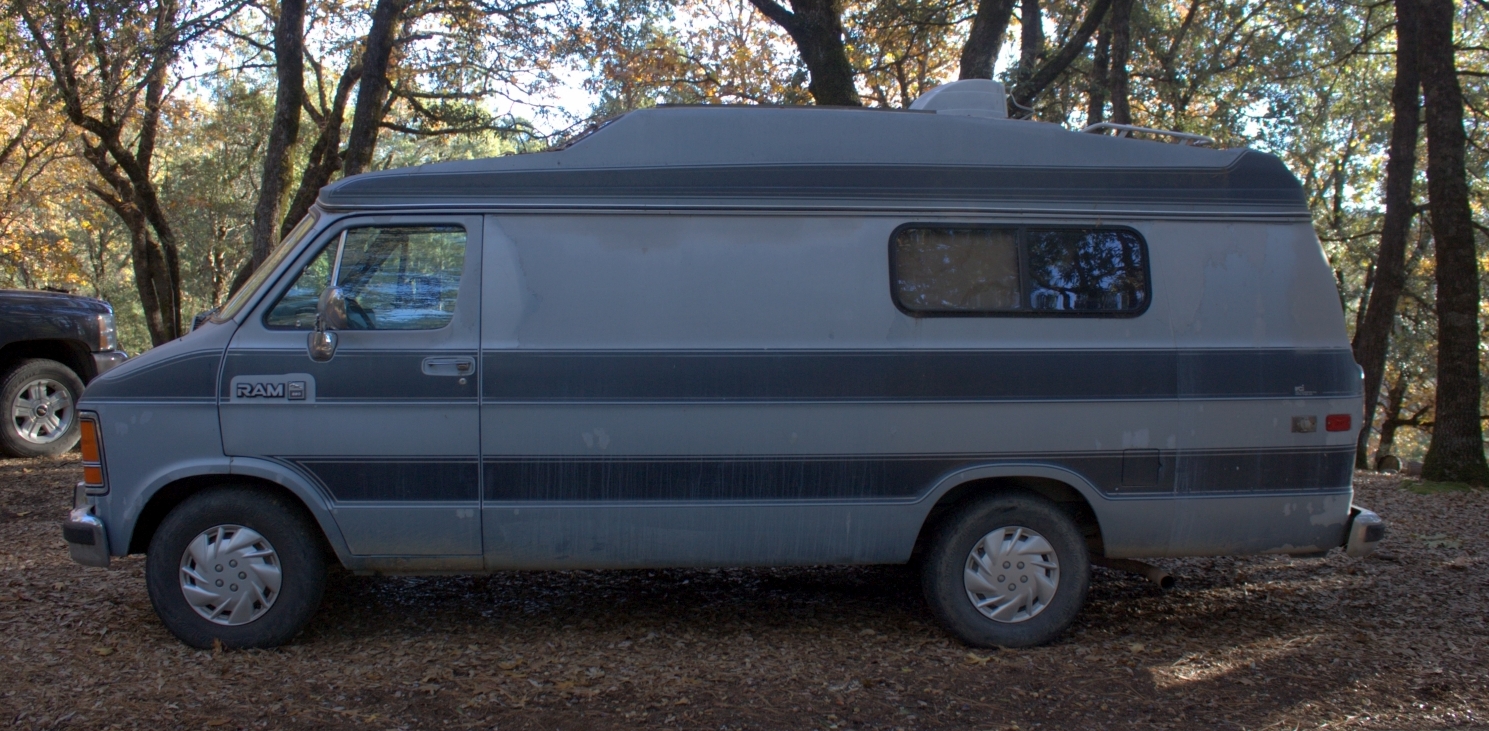
Full van before and after
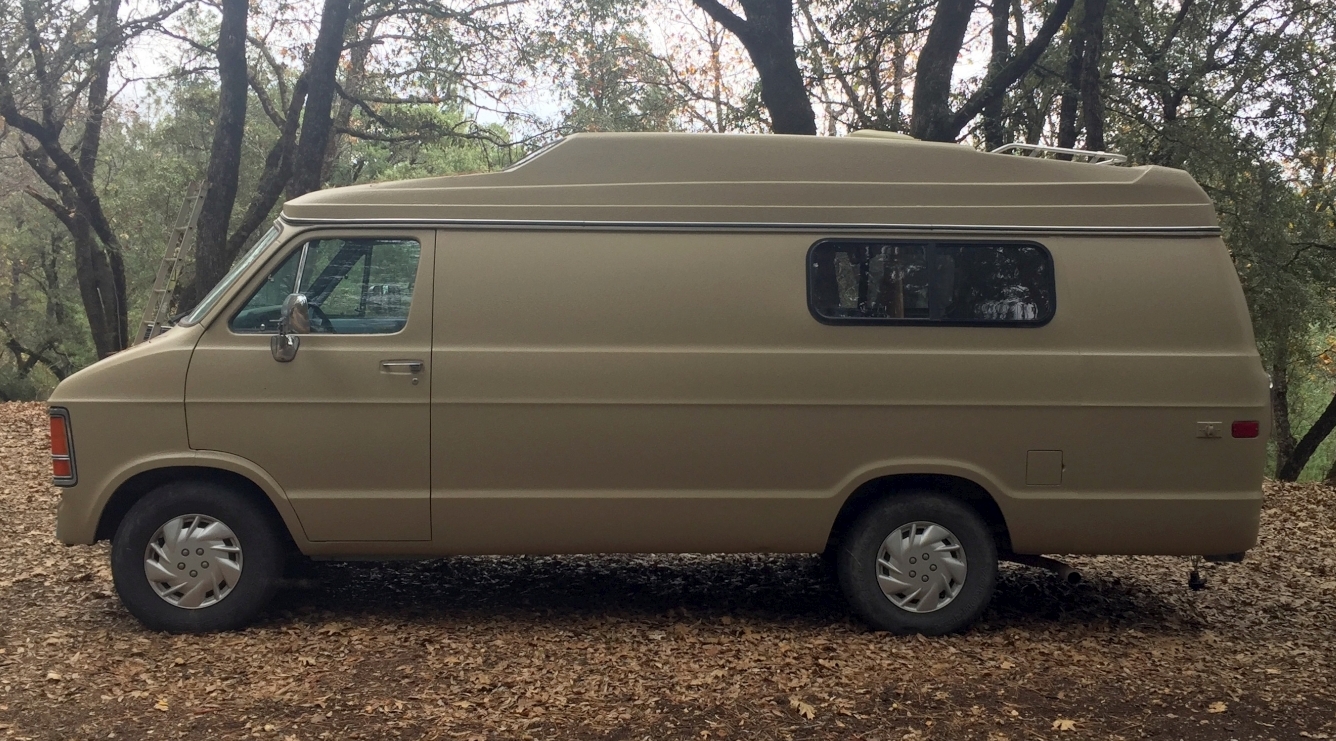
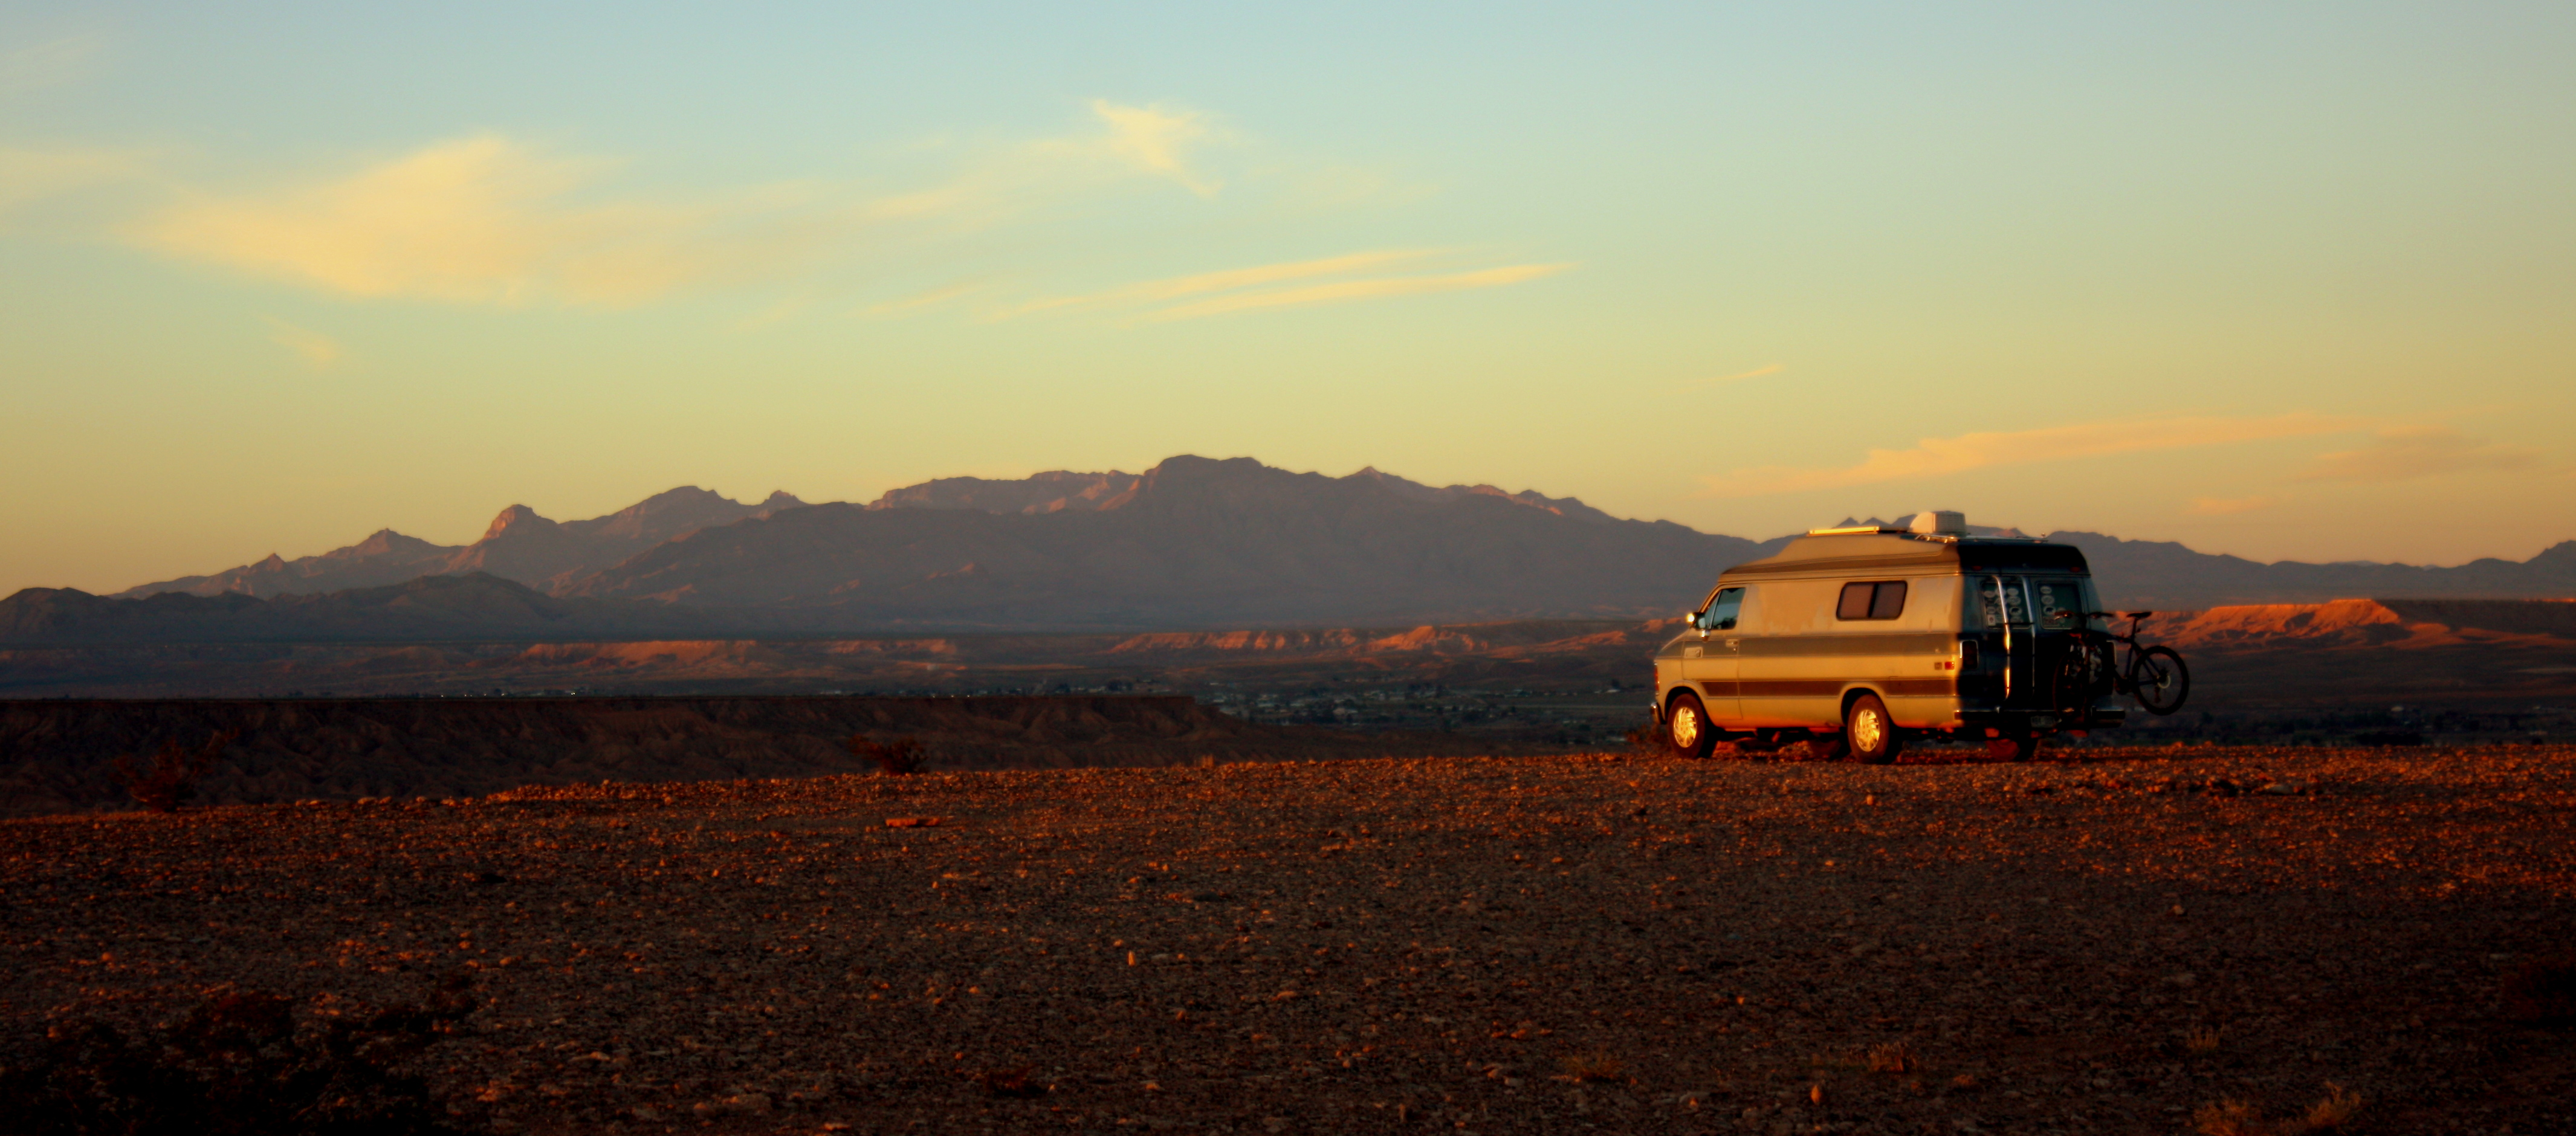
Looks good. Kind of a desert camo.
Thanks
“Desert Sand” is the official color-name
My goodness, there is nothing like a Before versus After photo.
It would be great if guys like you, who have done it once, would start doing it for others, as a part-time business. I’d hire you.
Oh, I’m not sure I’d want to do it again to be honest.
“The solution was to sand all the failed paint off, which is extremely time consuming and back breaking work.”
Did you consider paint stripper/aircraft stripper?
I did, but went for the sanding based on the amount of cleanup that a stripper would entail. Sanding, although harder, was just easier in the long run.
Not including your labor of course…if you don’t mind…how much was the paint and other materials needed for this job? Did you consider a paint job at some local garage or Earl Schieb(SP?)? If you had to do it again…would you? Looks really cool and I bet it is a tough surface highly resistant to scratching and/or chipping.
It was about $700 in supplies, but a good portion (about $200) was the result that the blue paint had failed an was flaking off in large chucks. All that needed to be sanded off before any new paint could be put over it. So, $500-600 to paint the van over a week worth of hard work, only two of those days being painting.
Most auto paint shops could not even take the van in due to the size. The ones that did have a bay that large would have charged for all that labor to sand first before starting any paint. The lowest quote I got was $4000 and the highest was $8000.
I would do it again (with some tweaks I learned in this process) and would not hesitate to do it on a vehicle that did not require all the prep work due to failed paint.
Love the van! Was planning on raptor lining my own van but was hoping to get more insight on well it holds up over time and cleaning. I plan to do a lot of off tossing and was curious to how washing a lighter color bed liner holds up
It has been 2 years and it is still holding very well. I can’t say I have washed the van once, leaving that to the rain and puddles