Big Blue version 4.0 – Gettin’ ‘er done
I have been in somewhat of a holding pattern, waiting for a single part to show up before a critical thing can be finalized… preventing all else from happening. Not 100% accurate, but the areas I would have liked to work on had to wait for said part. Nevertheless, I had many other projects to finish while I waited…
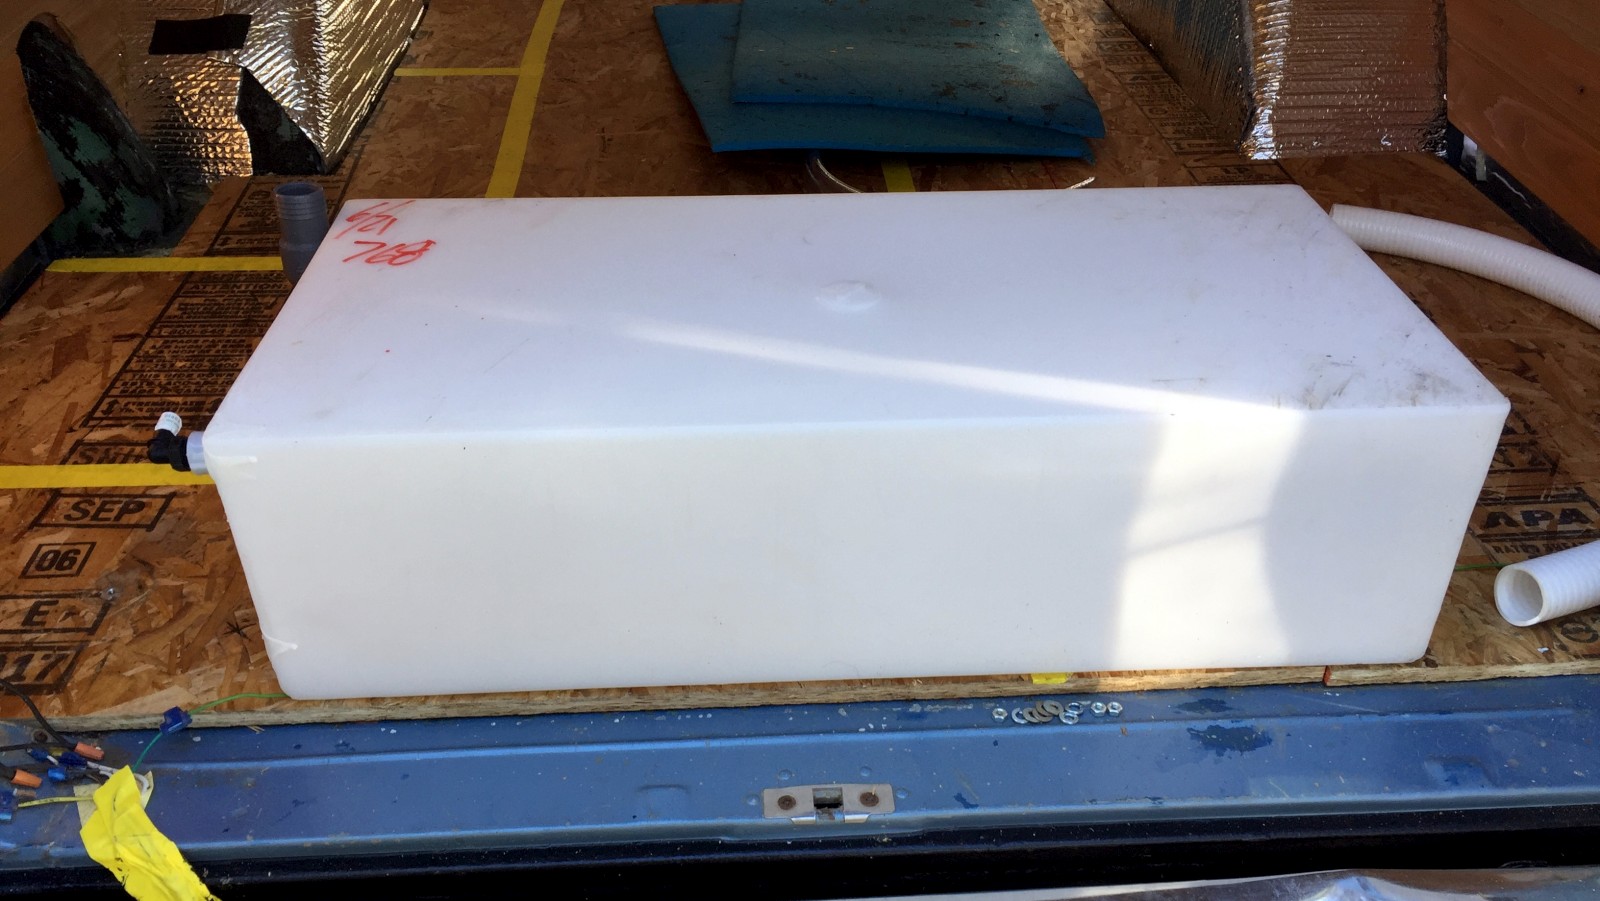
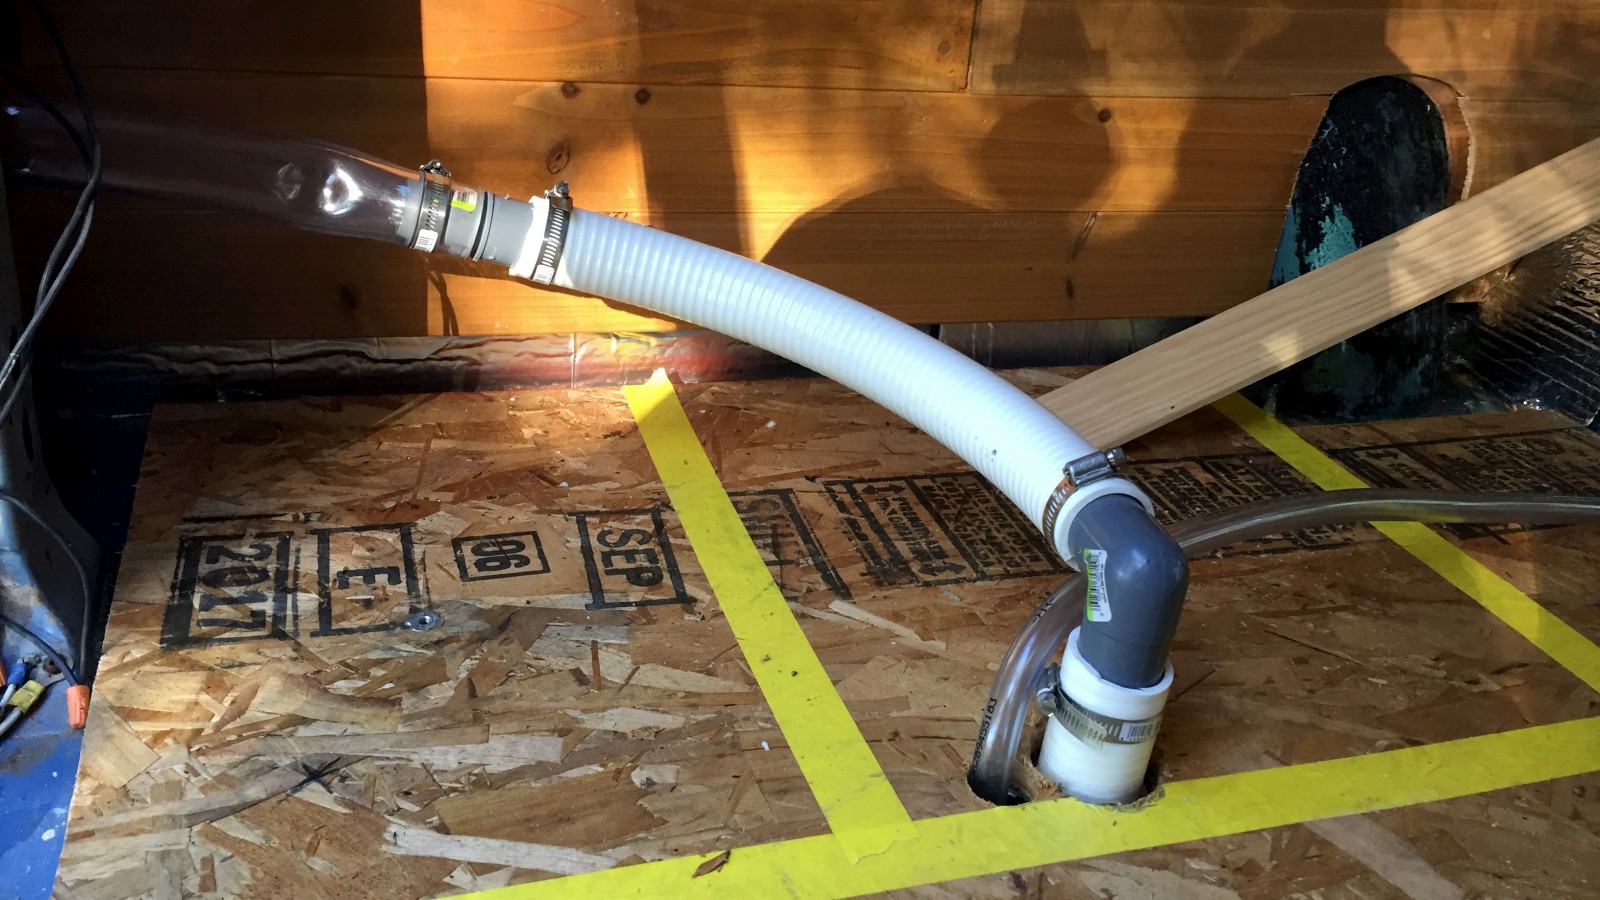
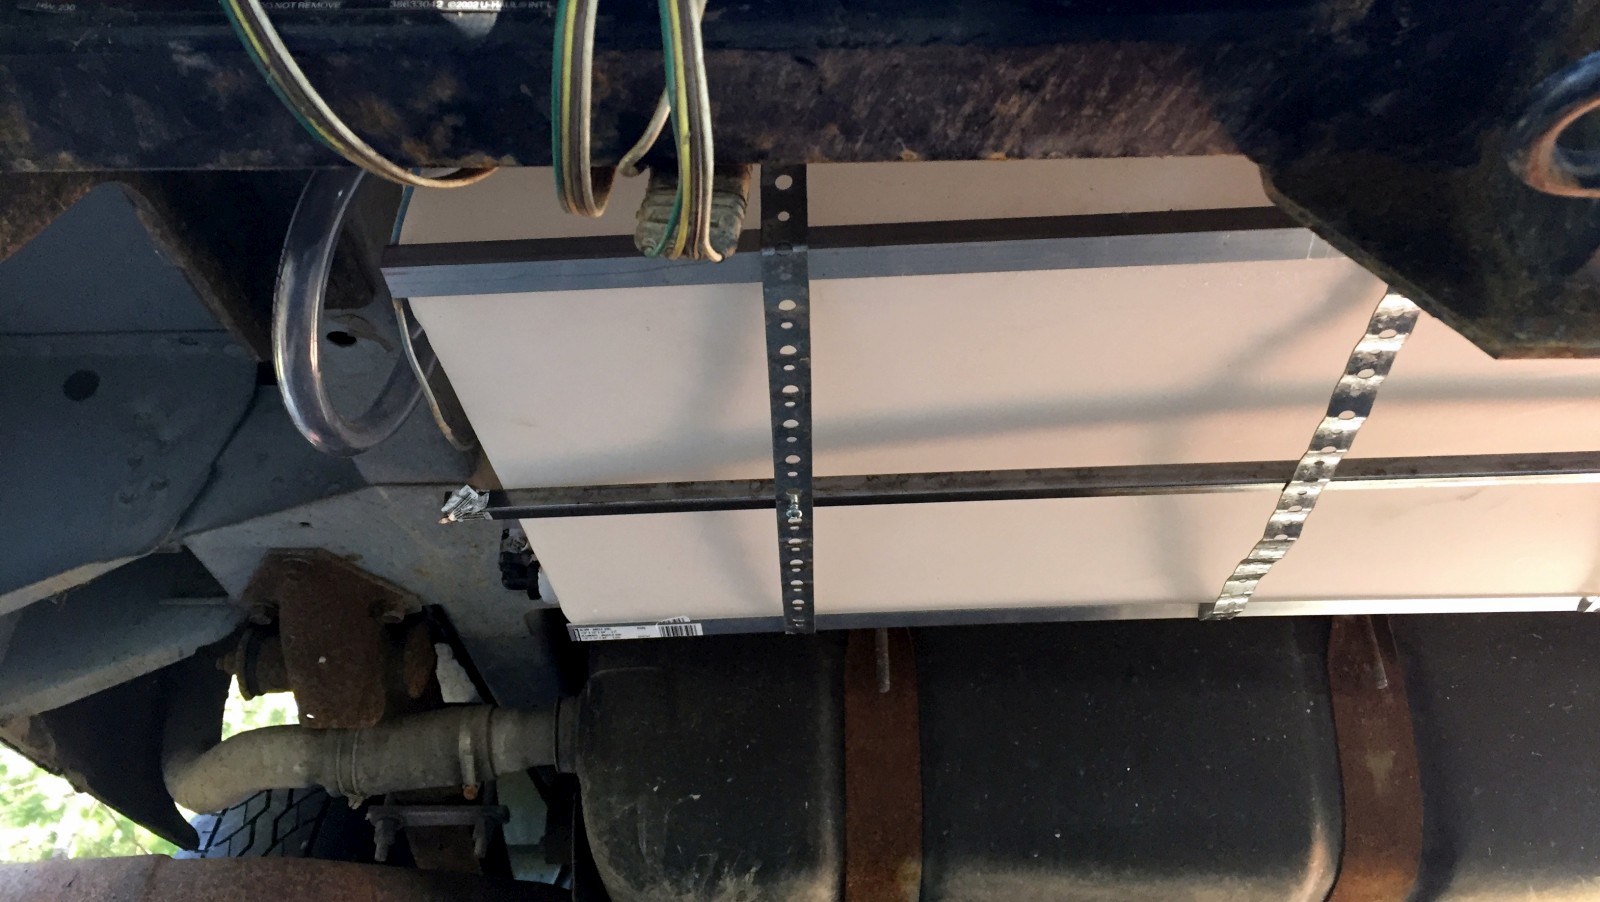
First was the installation of Big Blue’s new 21 gallon fresh water tank. This came with its own challenges of finding the correct fittings (I figured they would have shown up with the tank… I was wrong), and the mechanisms to mount it under the rear of the van. Once those issues were resolved, the drilling of a few large holes through the van commenced. Two for the water inlet pipe, and another for the hose to run from the tank to the water pump inside the van. I located the water fill spout just under the left rear tail-light assembly for accessibility. Strapped in and secured under the extended part of the van’s living space (behind rear axle and gas tank) the tank fit in perfectly and is ready to hold our water supply. This will be a big upgrade from having to carry jugs of water inside the van, mainly in freeing up tons of storage space for something else.
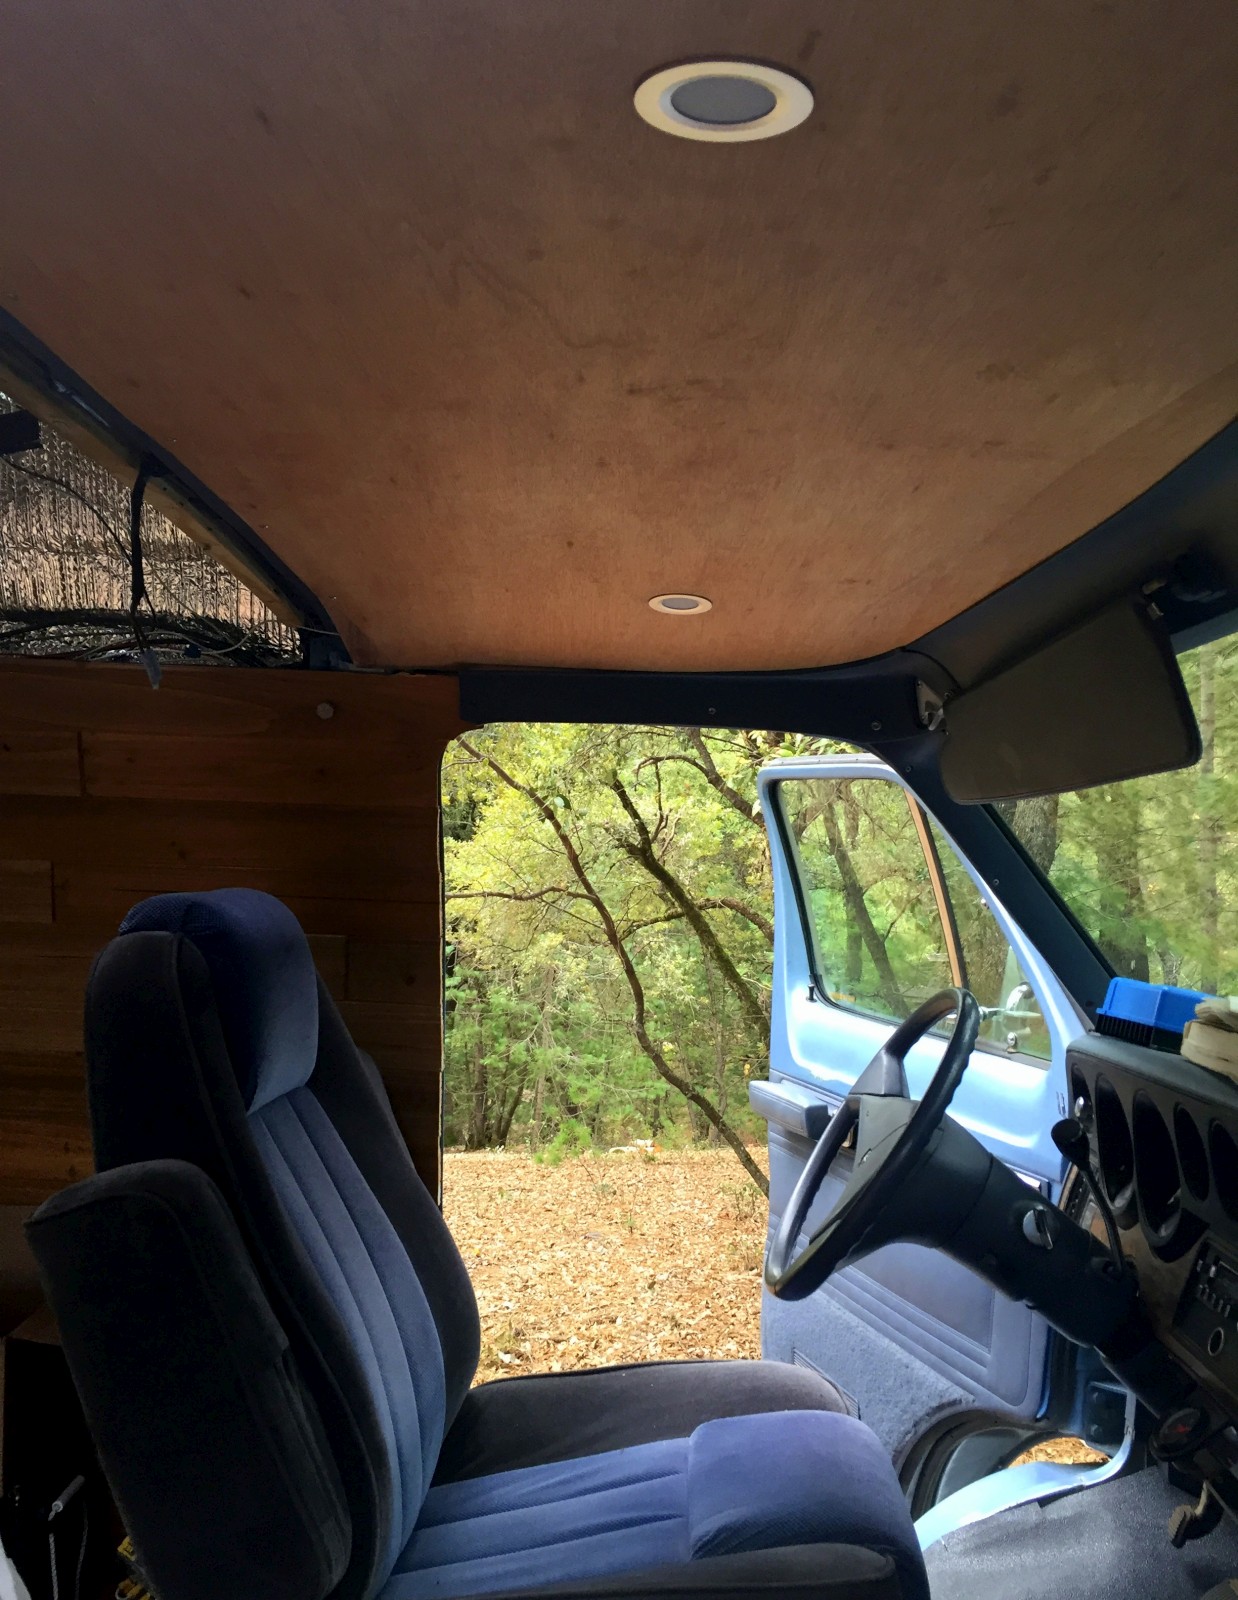 The big project of the week was finishing up the upper part of the walls and ceiling panel. The ceiling was originally one large 12′ by 6′ panel-board with headliner glued on. It was not an easy piece to get into and out of the van when I needed to access the inside-top of the topper. I decided to divide it into three sections to allow easier access to individual portions of the topper. Holes were cut into it in preparation for the LED puck-lights, then it was primed and painted. The ceiling of the driver’s area was also replaced with some fresh panel and two flush mounted LED lights were added to replace the old fixture.
Back into the living area – the upper walls, (which also use to be 12 feet long), were divided into two sections that can be easily removed to get to the inside of the fiberglass topper where the awning is mounted as well as all the 12 volt wiring is channeled. These were not easy boards to cut and install the cedar paneling into; not only are they still 8 feet long, the top of the van is curved (a big – long – curve!) challenging all my skills as a carpenter. It eventually worked out OK, but a whole day was spent on it alone.
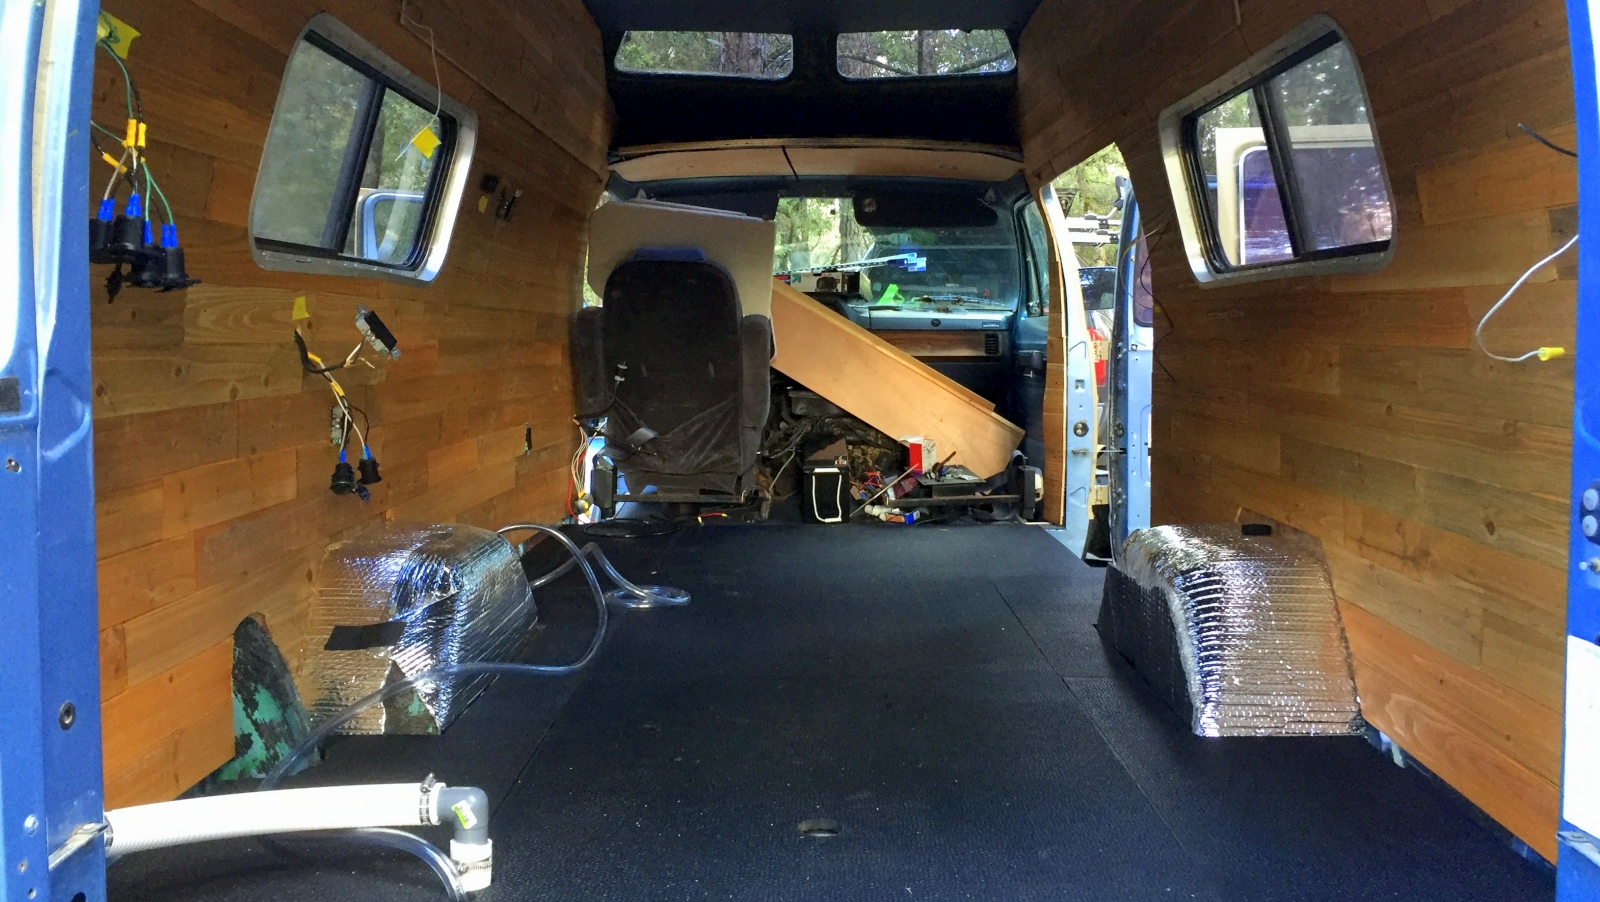
And as you can see in the picture above, we finally got the flooring in place. 1/2 inch rubber mats were cut by hand (my hands barely worked after this day, it was not easy cutting) and placed into the van to minimize visible seams once the cabinetry was installed. While it is not as soft as we both imagined, it is rugged as all hell; originally intended to line the floors of horse stalls. Not only will the rubber floor add a lot of insulating value to the floor, it will deaden exterior sound while driving.
Finally, with the ceiling, walls, and floor completed (mostly) I can get to the fun stuff of building the cabinetry and bed, right? Nope! We spent another three days waiting for a single cell-antennae wire to show up so the ceiling can truly be finalized. There was still a long list of other jobs that could be completed though, so never was there a day to just sit around relaxing (or in my case, recouping from all the physical labor).
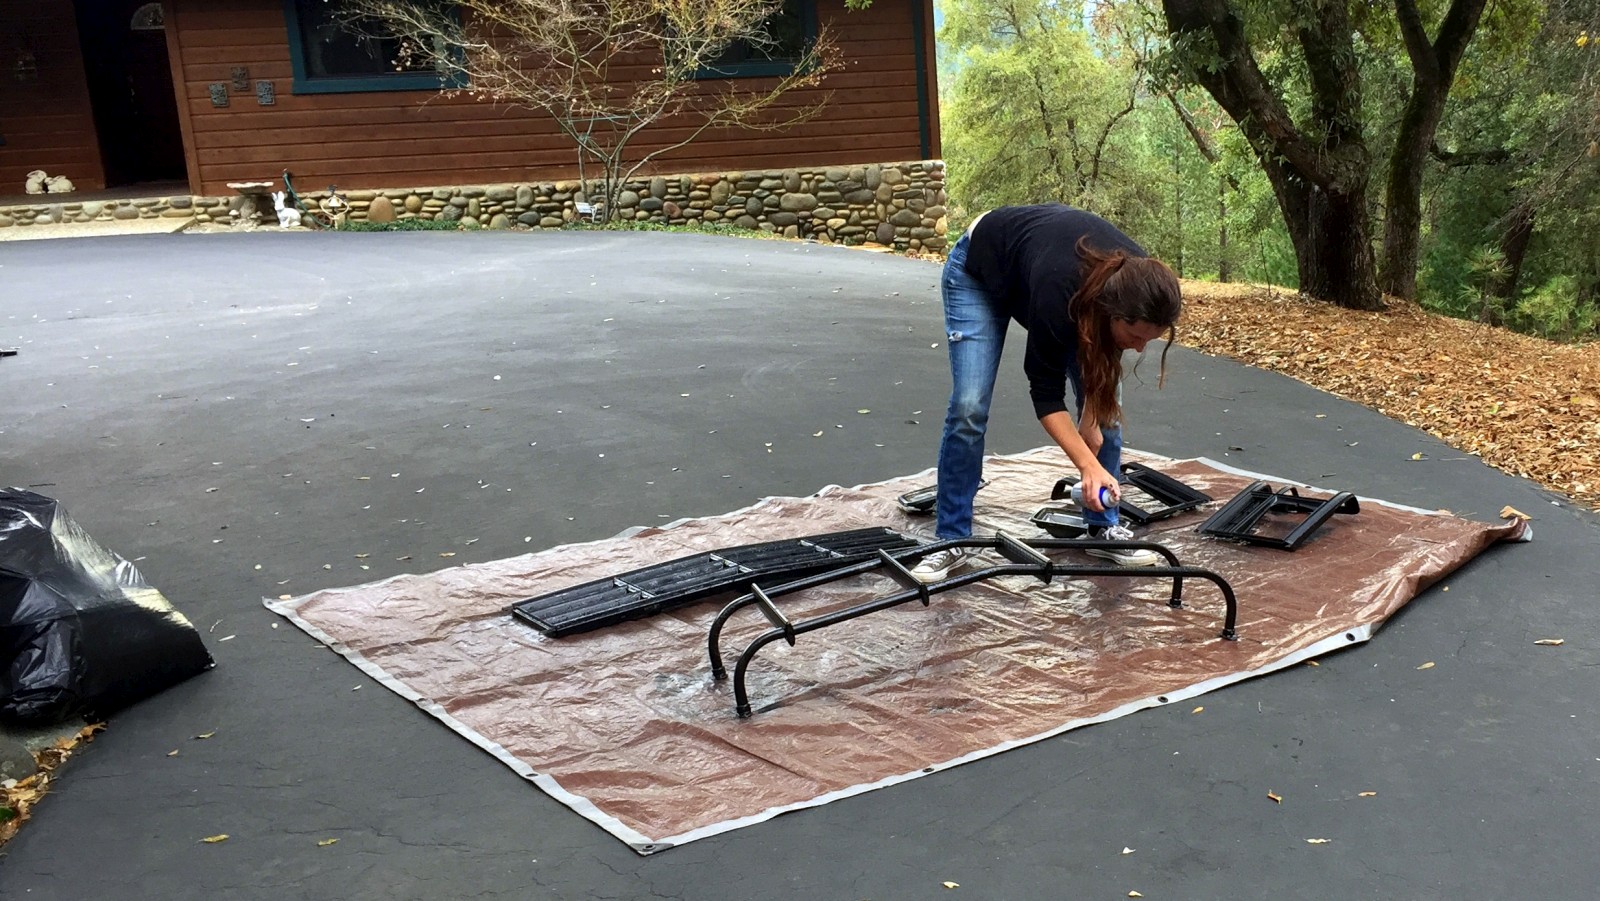
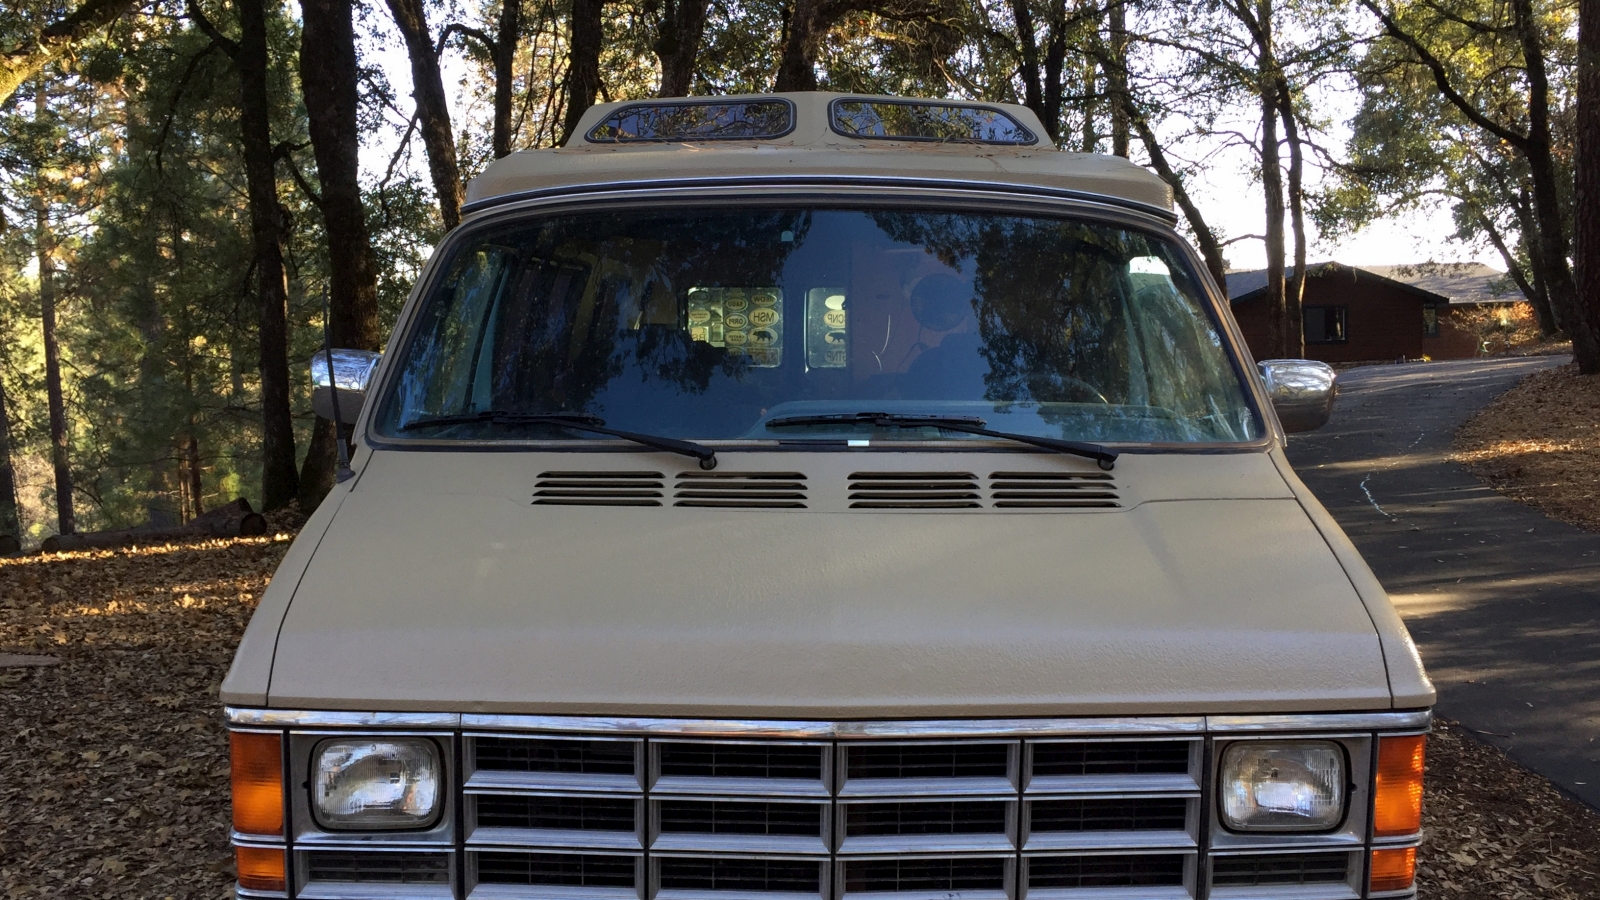
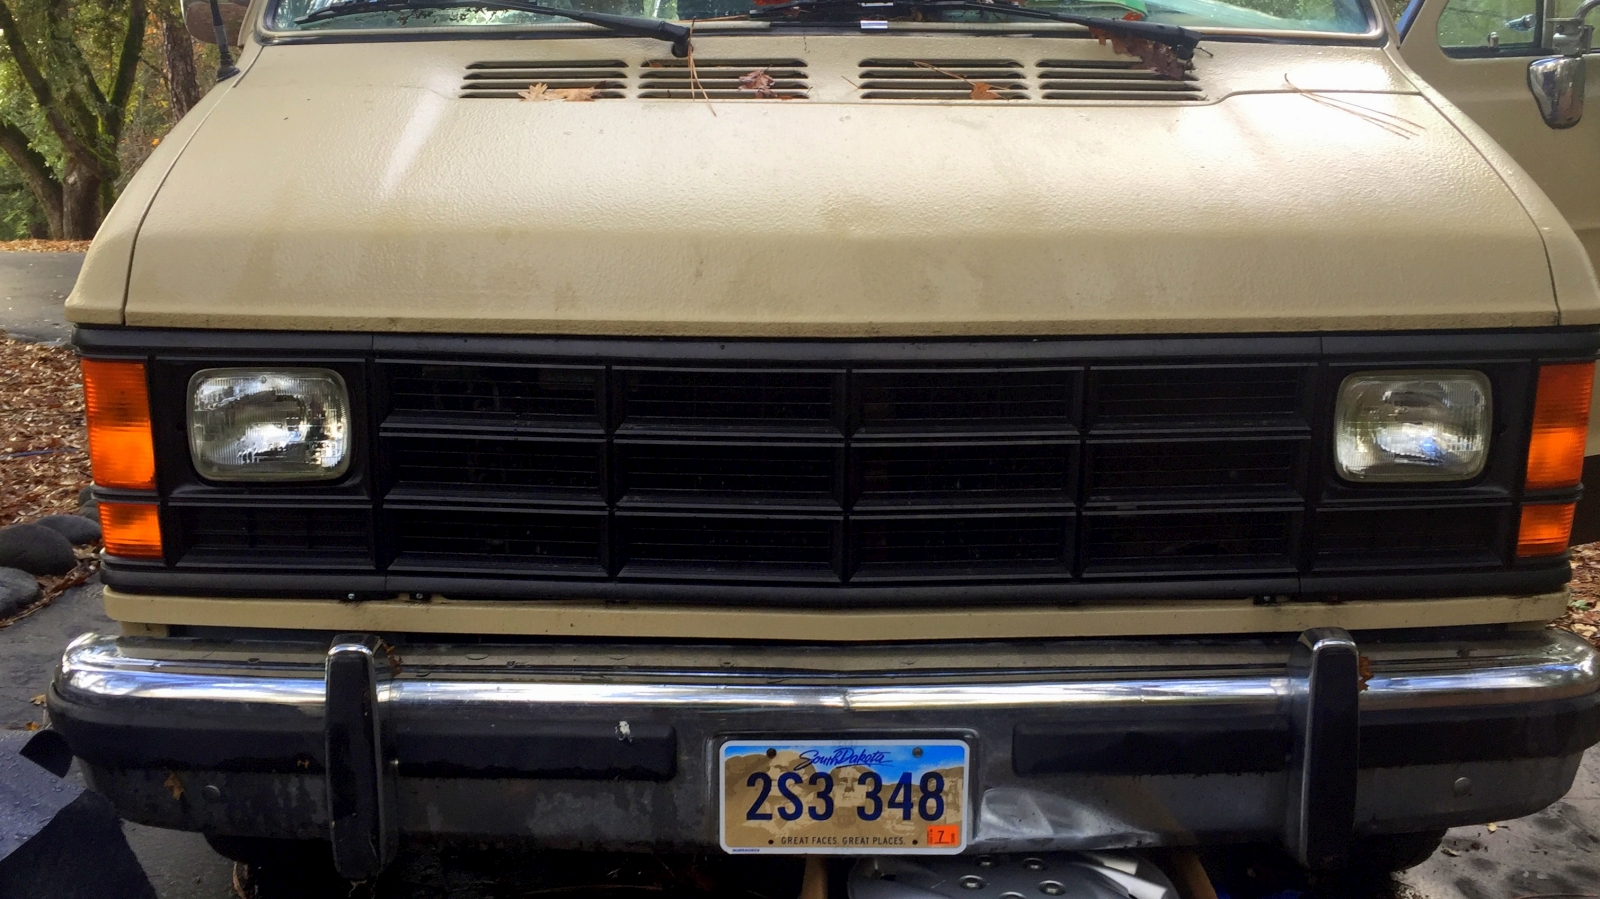
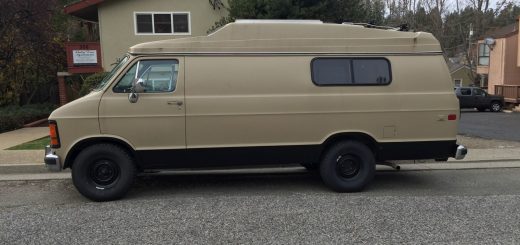
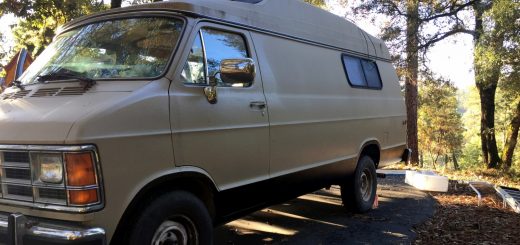
Kerri – finally with a day off work – set out to rid Big Blue of much of his chrome accents. The entire front grill, rear tail light bezels, and ladder were all chrome but she took the time to give them all ample coats of black Plastidip paint. It was a dramatic change to BB’s appearance, now looking even tougher then ever! The two bumpers may go through the same treatment in the future, if I can build up the courage to remove them again. That is a big job in itself!
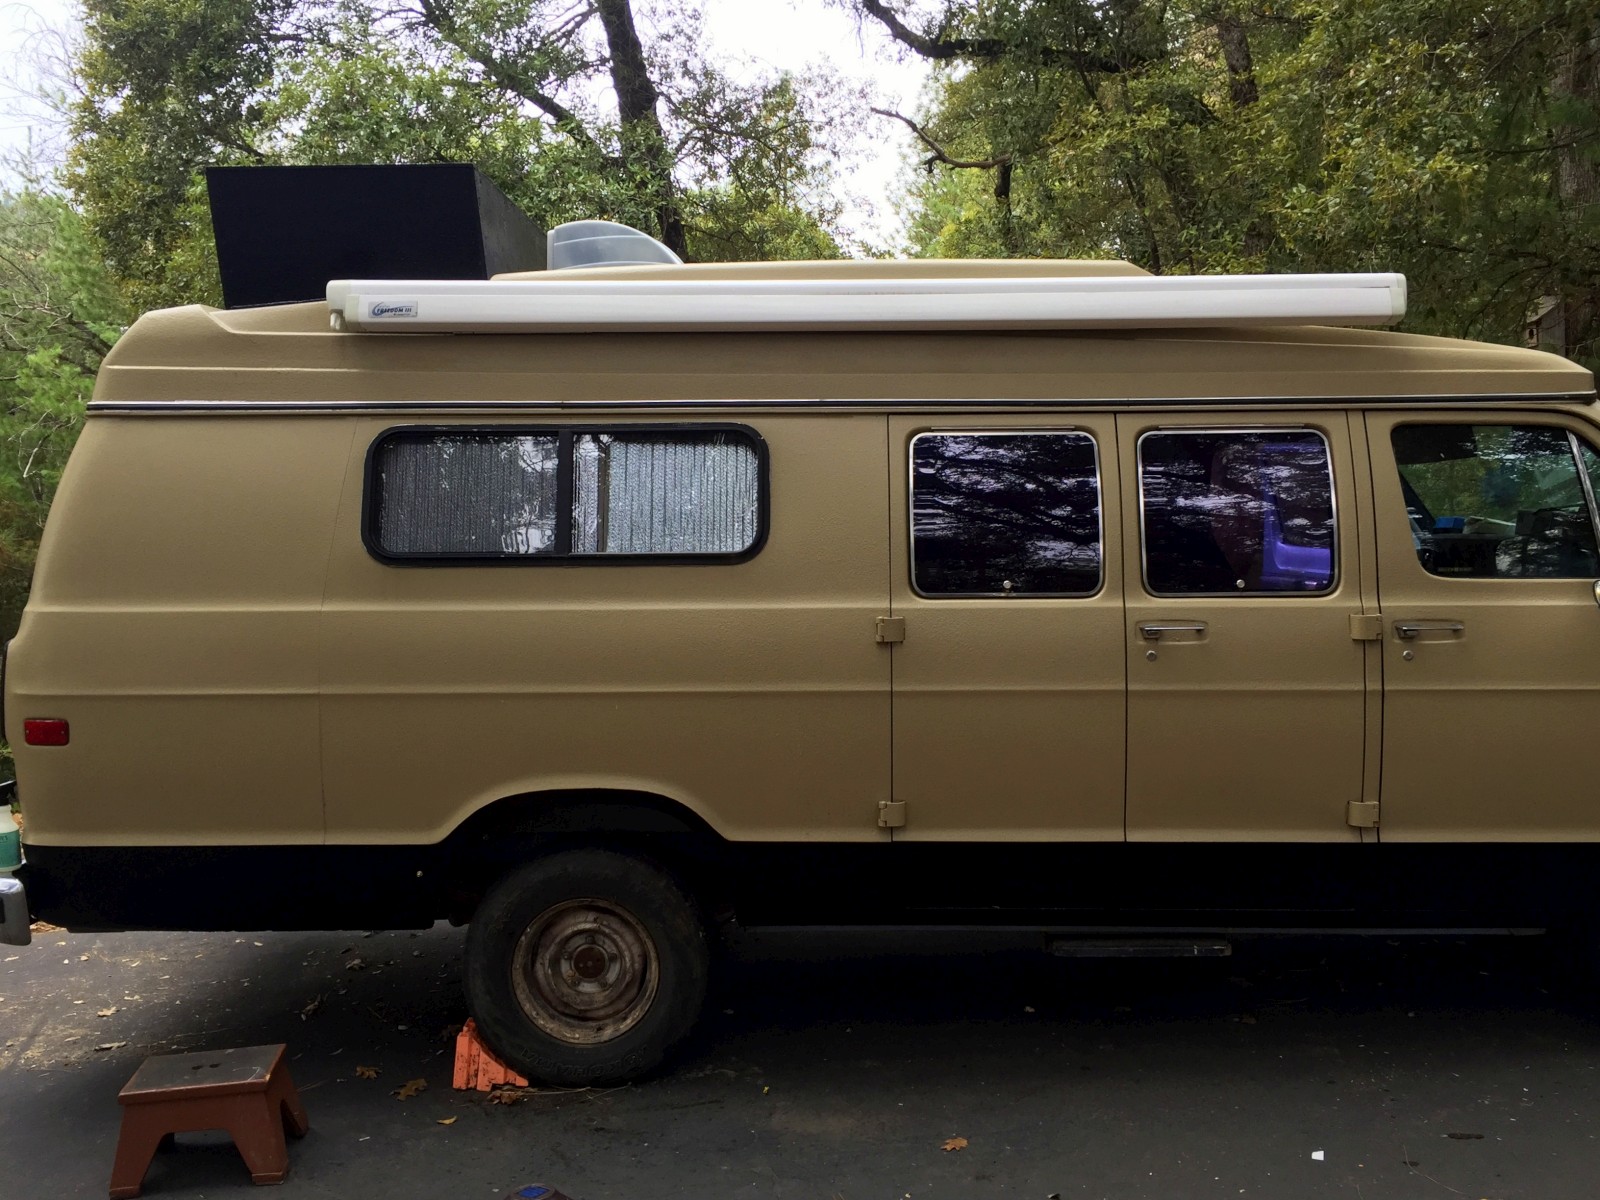
Other tasks worked on but not fully completed is the map-cubby (overhead of driver’s area), replacing the driver’s compartment flooring (from old/gross carpet to new vinyl flooring), and getting the awning re-mounted onto the van after some replacement parts were installed. All in all, it is starting to look like a van again (not a Vanagon).

Looking good!
Really can see diferance already